Deferred maintenance is the pits. This is especially true when that deferred maintenance is needed on something you already hate and want to replace, but you've not gotten to that point in your project list. And deferred maintenance is the absolute worst when the fact you've deferred it, even on something you'll ultimately replace, ends up affecting another project you've already completed. Such is the case with a little piece of deferred maintenance I undertook in the middle of last week.
It wasn't too many years ago that we did a quick spruce up on our family room. Though it wasn't an "end all, be all" type of project, we wanted to make the room look nice and loved until we are able to really tear into it years from now.
As part of this project, we fixed up some bubbling plaster here and there, as there was no evidence of active leaking. Thinking all was good and well, we lived our lives and enjoyed the room.
Then, just a short months ago, I was looking around the room and noticed an issue. It seemed there were some new cracks and a bit of softened and bubbling plaster that had appeared beneath the windows.
UGH!!!
I thought we didn't need to deal with this sort of thing. I was obviously wrong. I took a little trip outside and noticed the primary issue. The window sills in the 1950's replacement windows—the windows that are neither the correct size, style, or quality for our home—had apparently begun rotting away. To make matters worse, the paint and caulk where the sills meet the house had cracked, and were now allowing water infiltration every time it rained.
No wonder we had cracked and bubbling plaster and paint. There were "giant" (in terms of water infiltration, every hole is a GIANT HOLE!!!!) holes letting water trespass all over the inside of our home's walls.
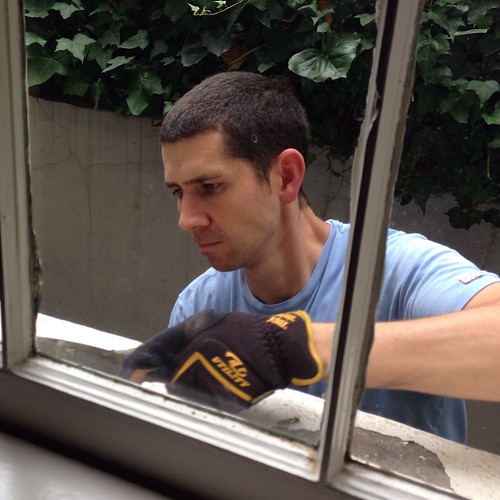
Though I wanted to stomp around and throw things, ultimately ripping both windows out and building new ones, my still-in-progress storm window build reminded me this was probably not the most prudent approach to the situation. Instead, I had to figure out how to fix the problem. My best approach? Well, I deferred the maintenance.
The beauty of deferred maintenance is that it allows you to noodle though your dilemma until you come up with a possible solution. Wendy often refers to this process as "torturing yourself and obsessing," whereas I like to think of it more as "pondering masochistically." To each their own.
In this case my deference to the the much needed maintenance extended along until it became a more pressing situation. I knew a very rainy weekend was forecasted, so I felt the need to take care of this leak issue sooner than later.
I started by taking my putty knife to the cracked area just to see what we were working with. Shockingly enough, what started as a simple poke with a stiff putty knife quickly turned into peeling back layer after layer of chunks of paint that had all been compromised by the constant infiltration of water.
The still was partially rotted, and the bubbled paint extended well down the concrete sill.
The second window was actually far worse shape than the first. If I were on This Old House and I were either Norm or Tom, I would've said, "That sill, it's in really tough shape...might even be toast. Is it even worth saving?"
It seemed the window sill had taken the brunt of the water, rotted wood flaking away as I dug at the problem area. It was not a pretty sight. Not only did the water cause so much damage that the wood just fell away, we could clearly see the person who had installed these windows many years earlier had used paper towels as either insulation or shims. What's up with people using paper towels in crappy window installs? I know other bloggers feel my pain here!
Once I had all of the rot and flaking paint removed I could begin working on a solution. Besides, as long as I was making this face, I had to be doing something right...right?
The first window was pretty easy. Using my favorite "Big Stretch" caulk, I filled the gap I had just created and verified there were no routes where the water could sneak in.
Running my finger along the newly laid bead of caulk to ensure a nice presentation and a packed seam, I felt good about taking a baby step in the right direction.
However, the bigger issue was the second window and the huge area of rot. Ideally I would have cut away the rot and then added a new piece of wood with copious amounts of waterproof glue. However, this is not our forever window, and I wanted the solution to be "good enough" and fast, we'll worry about the best solution when we actually replace the windows a little ways down the road. Besides, anything should beat what's there now. The horror.
So what do you do when you want "good enough?" You do your best, then you caulk the rest!
I loaded in some caulk as a base, then shoved in a whole bunch of foam backer rod for caulk support.
That's a lotta caulk!
Then I proceeded to load in even more caulk. I think I used up almost the whole tube. It wasn't pretty, I assure you.
In order to ensure the finished project didn't look like a giant mound of melted marshmallow flowing from beneath our window, I used my putty knife to give me a somewhat decent edge on the large amount of caulk.
Big Stretch caulk, besides being able to stretch several inches rather than crack, is pretty great at standing up during its cure, rather than sagging. This makes Big Stretch almost perfect for this Frankenfix of a window leak solution.
After allowing 24 hours dry time we checked the caulk and determined we were good to proceed with the next step. Rain was headed our way just a day later, so the sooner we could get some paint on the sills the better.
Since I had exposed so much wood, had the newly curing caulk, and bare concrete, we started by priming the clean sills, and after allowing adequate dry time for the primer and under the cover of darkness, Wendy held the light for me while I applied the new and very thick coat of our exterior trim color, "Pearly White." No good photos can come from painting under the cover of darkness, so here it is the next day, in all of it's freshly painted glory.
It's amazing how different the old Pearly White looks next to the newly applied cost. It's the same color, even from the same bucket of paint, but the old stuff had taken on far more of a cream look over the years. It's amazing how paint can change so significantly when exposed to the elements. In about four or five weeks the two paint colors will actually be very close to each other.
Though this wasn't a major undertaking, it was an element of deferred maintenance I was glad to check off of the master list. It helped to take our home's exterior one step further towards getting ready for the fall and winter, and will hopefully keep water from sneaking under the window and into our living room walls.
Now we just need to start looking at the rest of our lengthy outdoor list. You know, little deferred maintenance items like our downspout, painting our roof, and the looming completion of the first phase storm window project. Any. Day. Now.