Complain. Bitch. Moan. Whine. Nag. Remind. Scream. Yell. Pester. Beg. Encourage. It only took five years of all of this to get my dear husband motivated to repair the large, unsightly crack adjacent to our skylight in the upstairs hallway.
Do you see it there? Staring at you from the lower portion of the skylight? You might remember said crack from our list of 2012 new year resolutions. This crack has been a sore subject in our home since the day of our home inspection. At that time, we pointed out the crack to our home inspector who responded that the water marks and subsequent cracks near the skylight were "nothing to be concerned about." Boy, were we young and naive. We quickly learned during our major snow melt that we should have listened to our gut instinct and known it was something to be concerned about. With ample evidence supporting a leaky skylight, our first step was to have it replaced.
For a little while we thought the leak was resolved. We went ahead with the assumption that replacing the skylight had corrected the leak, and back in 2004 we tackled our upstairs hallway renovation. During this project, we painstakingly re-plastered the walls and ceiling in this space to smooth out the bumpy, cracked, and sad surfaces, as well as fix the damage from the skylight leak.
Alex paid special care to the area around the skylight, as it was in really rough shape from the years of water damage. The round discolored area at the top of the photo below is actually the old location of our smoke detector, and water had been leaking in behind it. The dark area is part of our first steps in correcting the damaged plaster.
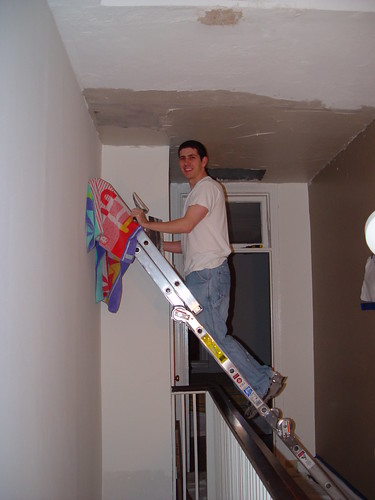
He may be smiling, but Alex is not happy above the stairs!
We only invested as much time as we did because we assumed the leak had been corrected with the new skylight. However, roughly one year later our hard work to fix the ceiling was undone. Several big storms and slow leaks lead to the reappearance of a crack near the skylight, and we eventually determined the leak was from around the base of the skylight, not the skylight itself. This crack drove me absolutely nuts every time I walked up the stairs or stood at the sink in the bathroom while brushing my teeth. It taunted me, it stared at me, and dared me to force Alex to fix it.
Over the winter Alex vowed he was going to correct the leaky roof once and for all. After several trips onto the roof during some of our very nice winter weather, Alex did his best to find and repair the leak, using a combination of patching cement and fiberglass screen. Once the work was complete we held our breath (and during each hard rain we crawled into the depths of the attic to monitor the area around the skylight). After several water free months passed, we breathed a collective sigh of relief. We think it's really fixed this time! No, really!
Feeling confident that we'd finally stopped the point of entry for Enemy H2O, Alex finally conceded that now was the time to fix the big ass crack that resulted from the leaks.
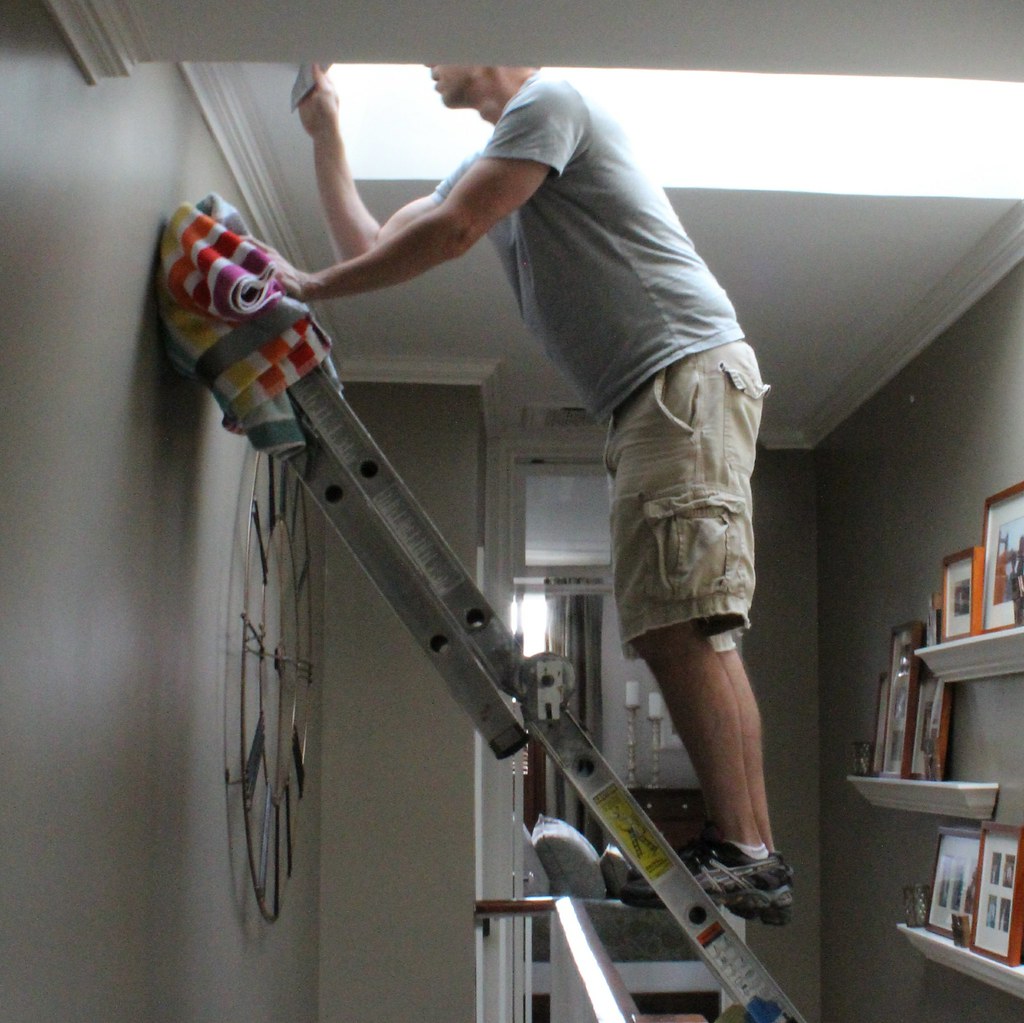
He started by setting up the ladder. This is actually one of the most difficult and dangerous parts of the work, and it's really the reason it took him so long to get around to taking care of it. He absolutely hates the precarious nature of being up on the ladder and hanging over the steps. He's not afraid of heights, and he's not scared of ladders, but the way it's setup in the hall, leaning across from one side to the other, he's just never been totally confident in it.
Here's his view from being up on the ladder, and why he doesn't really like it all that much. I don't blame him.
After scaling the ladder, he was able to dig out the worst of the crack to give the patch something to hold onto. One thing is for sure, this crack is whack! Look at how massive it ended up being.
Since the water had really done a number on the whole area, he also used a plaster button to pull the lower part of the ceiling back up and into place. It had sort of bubbled and fallen down after the consistent expansion/contraction from getting wet.
Once everything was dug out, he knew he couldn't just slap a bunch of plaster or thinset in there, the gap was too large to support that much wet material. So Alex cut up a few pieces of fiberglass screen and rolled it into the crack. Shoving it into the crack before patching would give the patch a bit of a backing that the thinset could adhere to.
With the whole area stable and clean, Alex mixed up his trusty 20 minute setting type joint compound and smooshed it into the gap.
The actual patching process only took him about 10-15 minutes, and the first coat came out looking quite nice.
After allowing the first coat to fully cure (more than 20 minutes when you have very thick coats, despite what the bag recommends) a light sanding, followed by a second coat of joint compound, left the patched area looking like it had never been the victim of an H2O mugging.
Alex then lightly sanded the second coat to reveal a even and nicely patched area.
A thin coat of primer was necessary to ensure proper adhesion of the top coat of paint. Without the primer, the patch will simply soak up the paint, requiring coat after coat for proper coverage, and resulting in a more obvious patched area.
Rather than load up a whole roller for this rather small area, we opted to use a foam brush. It doesn't really leave the same roller marks as the rest of the area has, but it was quicker, easier, and looks good from the floor.
While he was up there he also patched up and painted the second area that had a little damage, but wasn't nearly what the large crack was.
After finishing up the project, Alex actually remarked, "That was so easy. I don't know why I didn't do it sooner!" <sigh> That makes two of us, sweetie.
In all seriousness, this is one of those little nagging projects that has bothered me for years, and it makes me so happy that's it's officially checked off the list. I can now ascend our stairs or brush my teeth sans angst over the unsightly crevasse that once drove me mad.
Do you have any nagging projects that you can't seem to make the time to knock out? Maybe a missing outlet cover or an unfilled nail hole? Maybe it's more significant, like a gutted bathroom (ahem), missing door, or a broken fixture? I don't know why, but sometimes it seems the simplest of tasks are the most insurmountable.