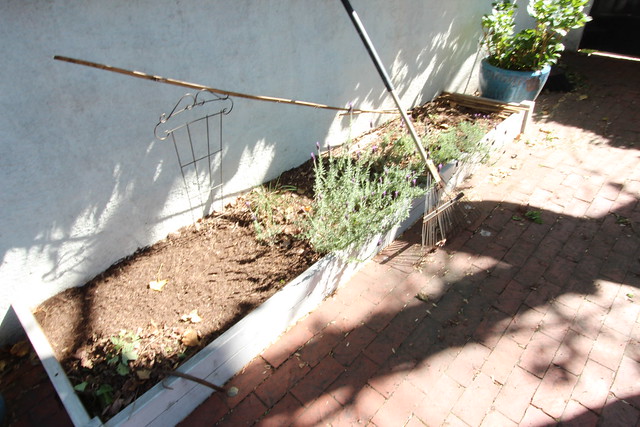
It was by no means a difficult project, and we had rather high hopes for the bounty of veggies this urban plot of land could yield, but we were somewhat disappointed. The sunlight for the yard is largely obscured by our large tree for the first half of the day, then the house blocks the sun in the early evening, which leaves us with just about four hours of direct sun for the area. Additionally, the soil seems to be somewhat overtaken by the tree and ivy roots from the surrounding growth, which limits the plants' ability to really thrive.
Both the first and second year we had some veggies that we were able to pick and eat (or feed to Lulu), but the yield was significantly lower than we had hoped due to various failures. I'm pretty sure we could buy the same amount of fruit and veggies from the store using about the same amount of money spent on watering our plants.

This year we decided to take a little bit more of a relaxed approach to our garden and focus on items with which we've had better success. Now that we have a few growing seasons under our belt, we're getting better at knowing which plants work, when they work, and where we should plant them.
more]]>
It was by no means a difficult project, and we had rather high hopes for the bounty of veggies this urban plot of land could yield, but we were somewhat disappointed. The sunlight for the yard is largely obscured by our large tree for the first half of the day, then the house blocks the sun in the early evening, which leaves us with just about four hours of direct sun for the area. Additionally, the soil seems to be somewhat overtaken by the tree and ivy roots from the surrounding growth, which limits the plants' ability to really thrive.
Both the first and second year we had some veggies that we were able to pick and eat (or feed to Lulu), but the yield was significantly lower than we had hoped due to various failures. I'm pretty sure we could buy the same amount of fruit and veggies from the store using about the same amount of money spent on watering our plants.
This year we decided to take a little bit more of a relaxed approach to our garden and focus on items with which we've had better success. Now that we have a few growing seasons under our belt, we're getting better at knowing which plants work, when they work, and where we should plant them.
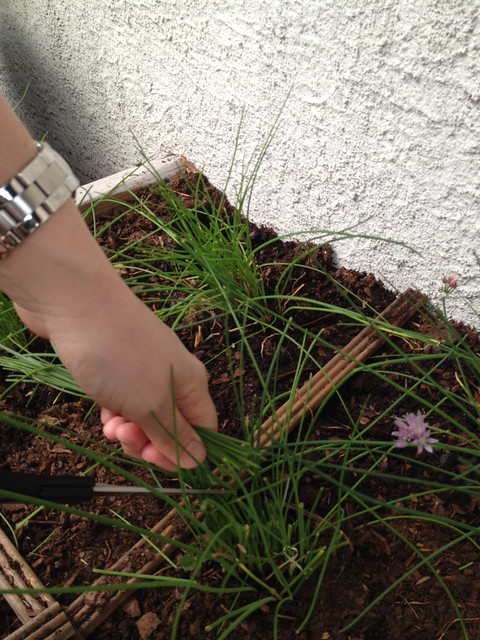
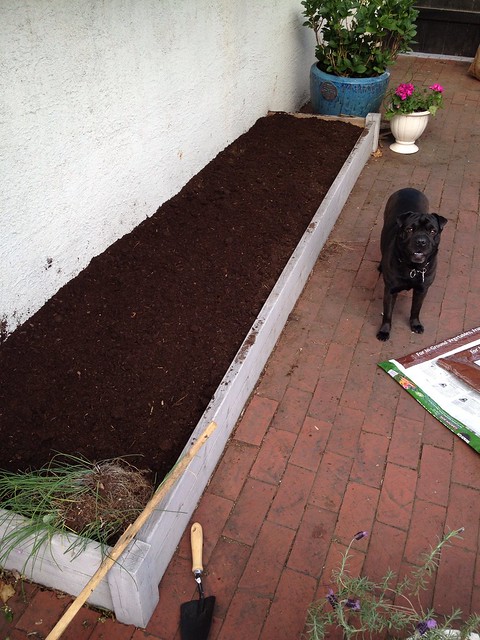
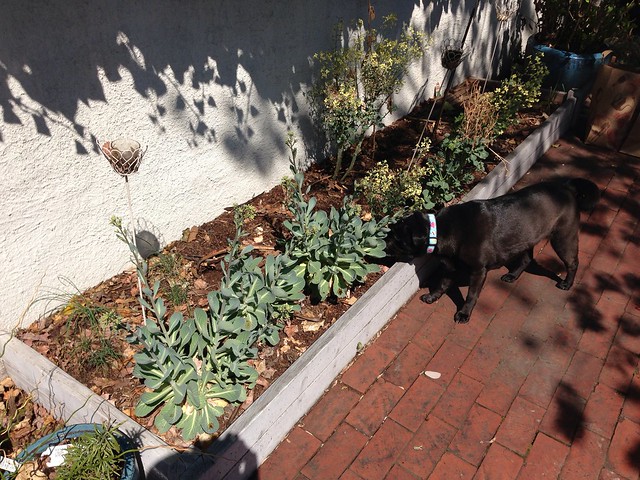
Before we could jump into planting we needed to first clear out last year's plants. We had let the cabbage, broccoli, and other remaining vegetables continue to grow over the winter. This left a handful of large plants that were in no shape to produce any edible food. I pulled up these plants, with the exception of the chives and leeks, and discarded them making way for all of the new items we picked up over the weekend.
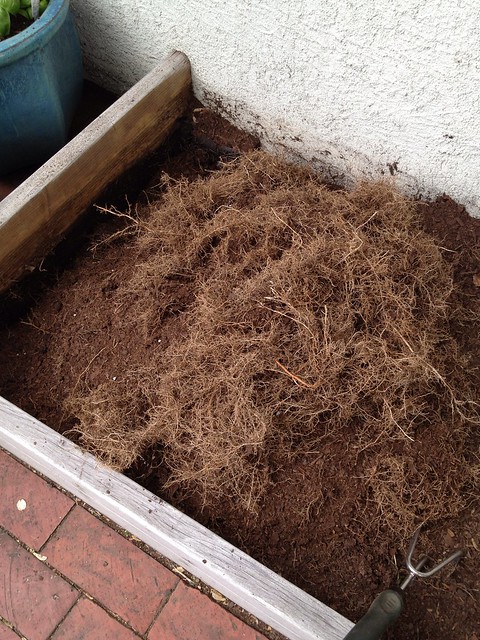
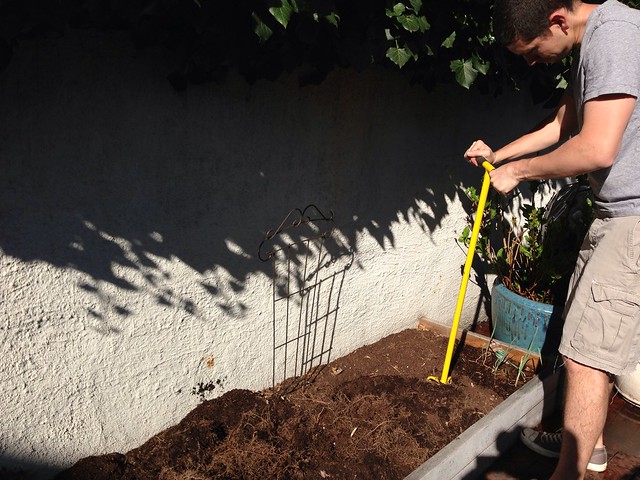
Before we could place the plants in the soil, Alex had to loosen the dirt by breaking up the roots that had infiltrated the area since last year. This is where the tree and ivy roots come in. He worked at the area for about 30 minutes and twisted up a rather large ball of roots he was able to remove from the soil. Had we left those roots in place and just went ahead with planting, I'm pretty sure all of our plants would have been choked out.
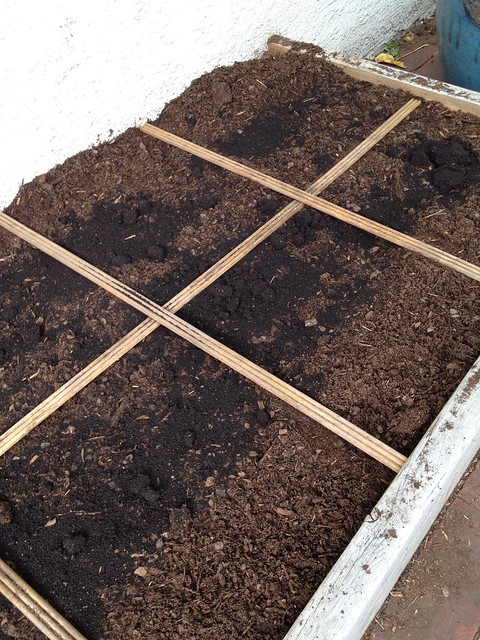
The soil we have in the bed is still a good and rich organic soil. Once it was all turned over and freed up, all that was left to do was determine the placement of the plants, and pop all of the various plants in the ground.

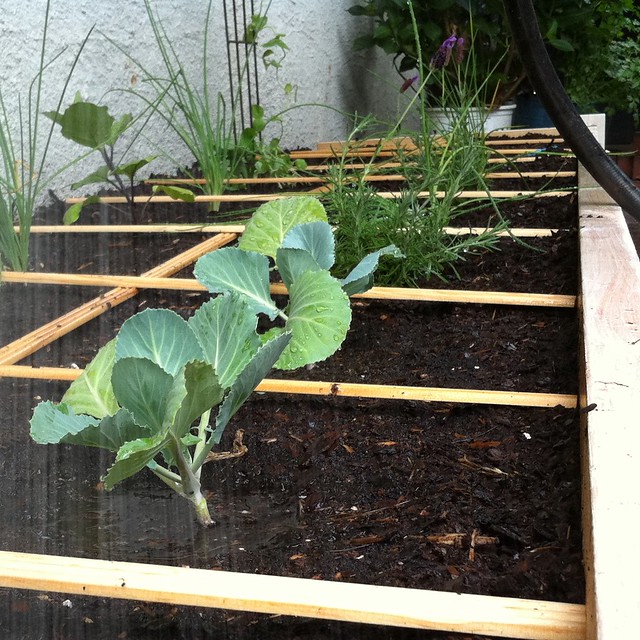
As I mentioned, this year we're doing a less formal square foot garden. Whereas last year we had formal dividers and indicators of where the boundaries of each square foot resides, we had a real problem with the squirrels throwing the dividers around. Since knowing what a rough square foot is in our small garden, we went ahead and scrapped the dividers and just went ahead with planting.
This year I decided to plant things that didn't need quite as much of a root structure and did much of their growing above ground. I also opted for heartier vegetables that seem to thrive in our rather wild temperature fluctuations. There was nothing more demoralizing last year than seeing a promising plant wilt in the 100 degree days, completely unable to recover.
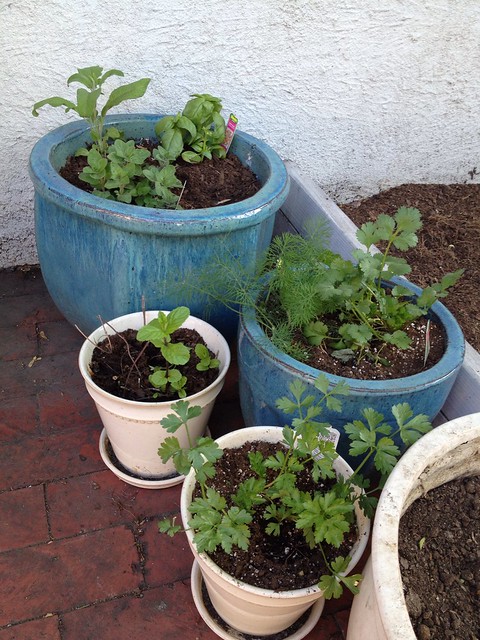
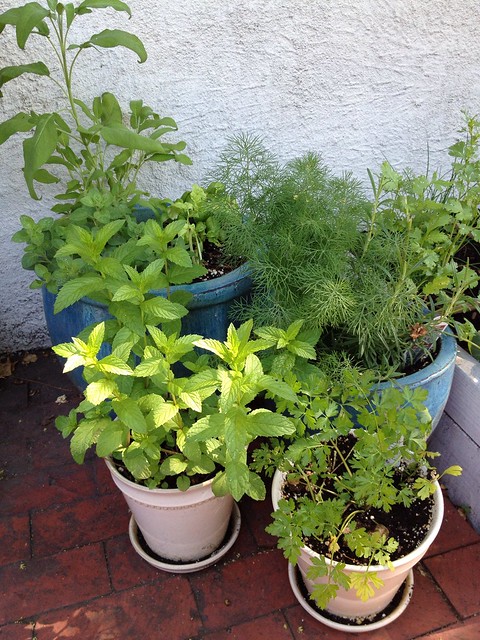
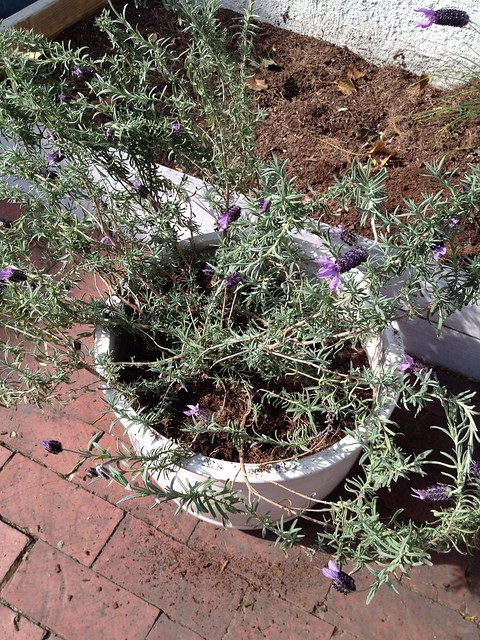
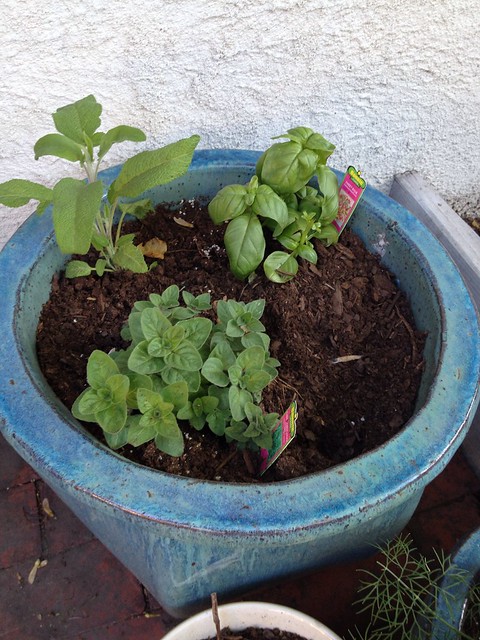
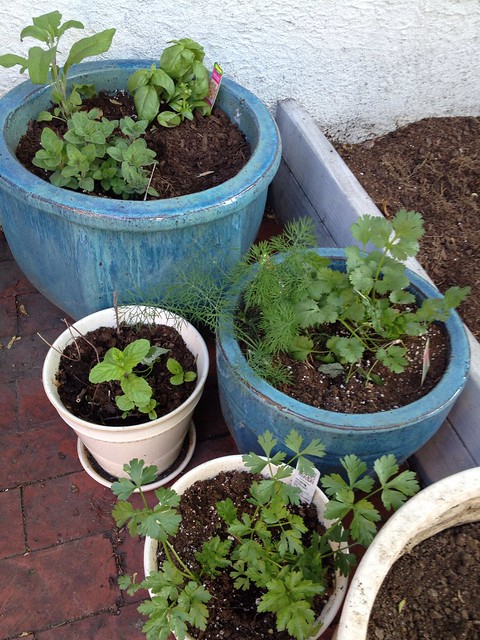
We also decided to plant more herbs in the raised bed this year, rather than solely in containers as we've done in previous years.
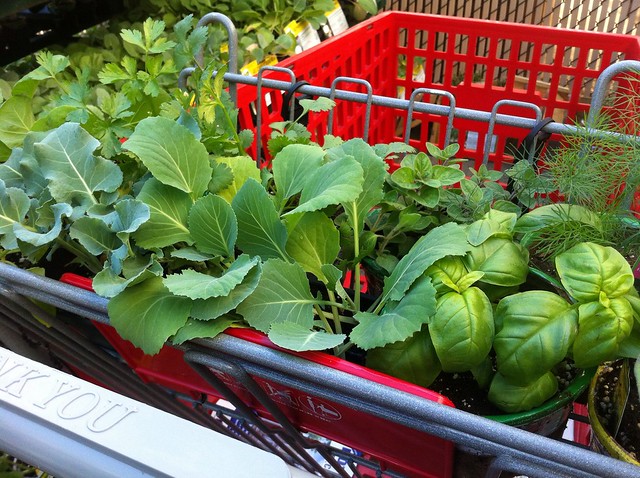
This year's selection includes:
- Dill
- Basil
- Chives
- Jalapeño Peppers
- Strawberries
- Tomatoes
- Romaine
- Radicchio
- Cabbage
- Broccoli
I placed all of my plants in rough areas where I wanted them to go but didn't put them in the ground right away. I wanted to get everything set up and determine just where each plant should be placed. This way, if I had a change of heart, I'd be able to change the location without needing to dig things back up. This also allowed my outdoor inspector to approve of the locations.

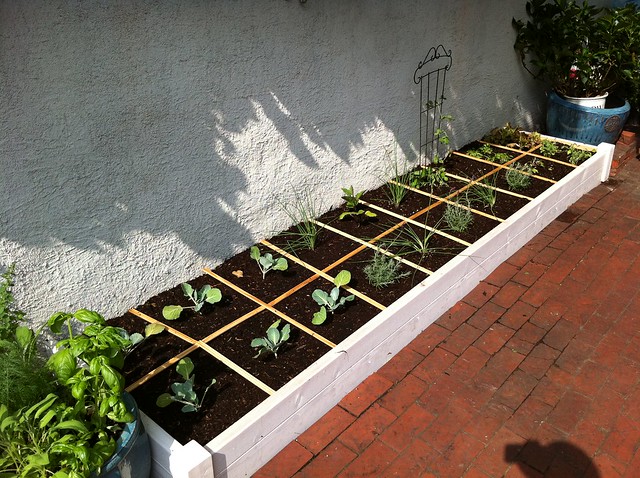
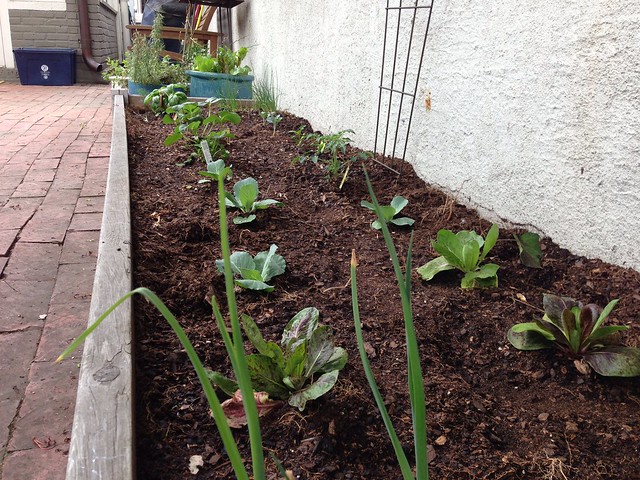
After I had everything in place, I opened up the containers and began placement of the various fruits, veggies, and herbs.

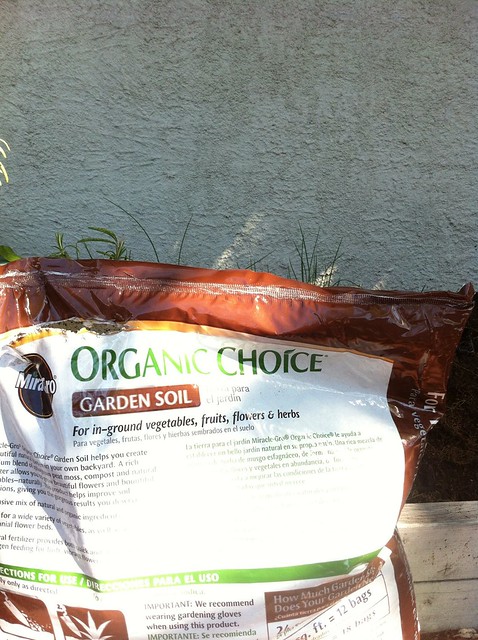
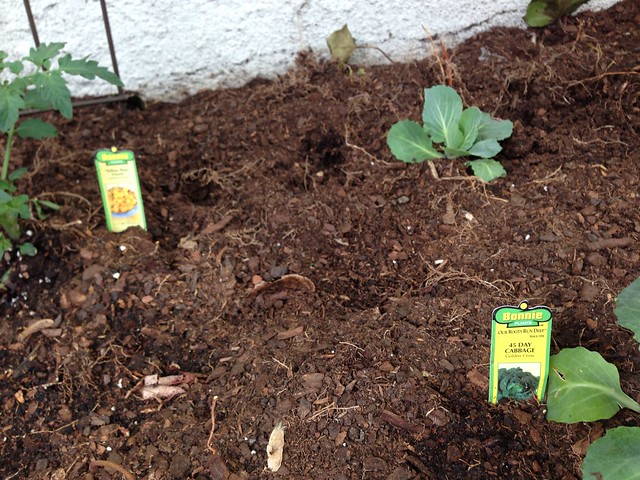
Once all of the plants were in place I used some of the organic gardening soil we picked up at the store to fill in the low spots and build up the area around the plants to create a nice watering bowl around the bases. This will ensure the water goes to the plant rather than rolling away.
I also made sure to place the little tags from the plants in the soil to remind myself of exactly what I had planted and where it was planted. After not doing this the first year, we now make a point of doing this to keep ourselves sane.
After a few hours of effort, some dirt under my fingernails, and quite a bit of inspecting from Lulu, we had ourselves our 2013 garden. I hope it yields some delicious bounty and doesn't fall victim to the squirrels or bugs as it has in years past.
Are you planting a vegetable garden this year? Do you have any tips for us on how to have better results? This is far from our area of expertise, so any tips or tricks are greatly appreciated.