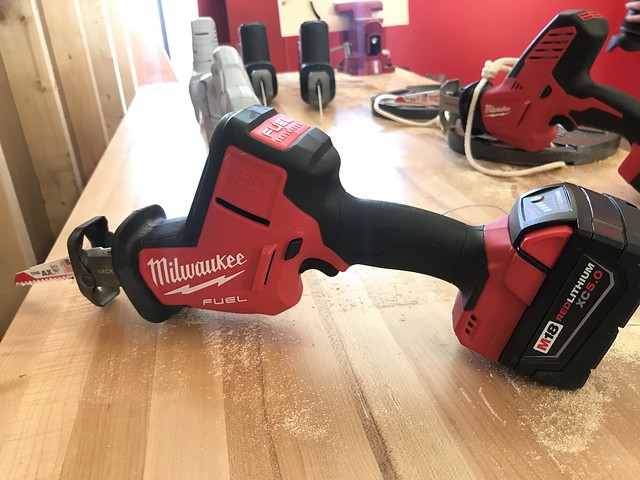
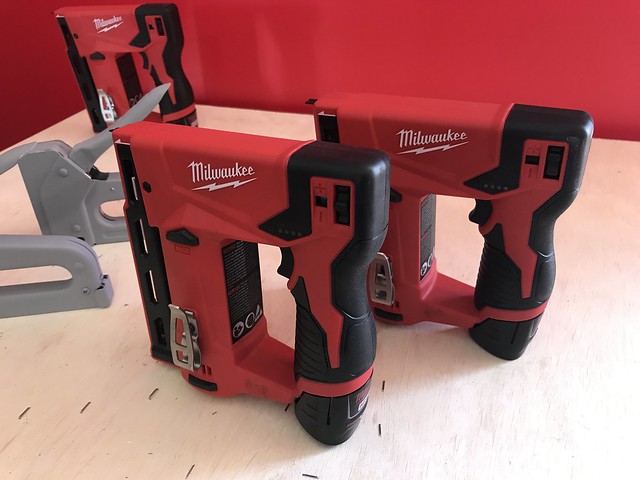
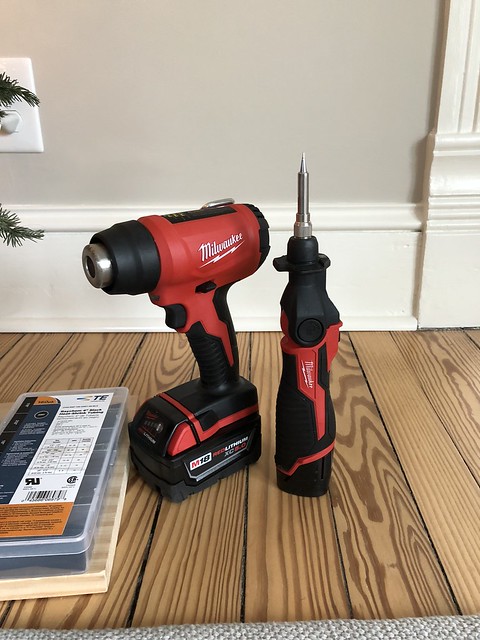
While there were many highlights specific to particular specialties, one of the demos that seemed to be garnering a fair amount of buzz regardless of the trade or interest of the person giving it a try was the station set up to show off Milwaukee's new M18 cordless heat gun and the M12 cordless soldering iron.
I've had a corded heat gun for years, but I often find myself needing to use it in situations where it would be far more handy to not bother with an extension cord or finding a nearby outlet. So when Milwaukee sent us a bare tool to try, I was eager to put it through its paces so I could do a review.
Since we received the heat gun, we've been using it regularly and can say without a doubt that it is very useful and convenient. At the same time we I can also say that a corded heat gun does offer some differences and potential advantages that you need to consider if you're thinking of buying one.
At just over one and a half pounds (without battery), it lives up to its name. The weight of the gun will obviously increase substantially depending on the size of the battery you choose, and I would suggest you go with as high capacity of a battery as you can with this tool.
more]]>While there were many highlights specific to particular specialties, one of the demos that seemed to be garnering a fair amount of buzz regardless of the trade or interest of the person giving it a try was the station set up to show off Milwaukee's new M18 cordless heat gun and the M12 cordless soldering iron.
I've had a corded heat gun for years, but I often find myself needing to use it in situations where it would be far more handy to not bother with an extension cord or finding a nearby outlet. So when Milwaukee sent us a bare tool to try, I was eager to put it through its paces so I could do a review.
Since we received the heat gun, we've been using it regularly and can say without a doubt that it is very useful and convenient. At the same time we I can also say that a corded heat gun does offer some differences and potential advantages that you need to consider if you're thinking of buying one.
M18 Compact Heat Gun
At just over one and a half pounds (without battery), it lives up to its name. The weight of the gun will obviously increase substantially depending on the size of the battery you choose, and I would suggest you go with as high capacity of a battery as you can with this tool.
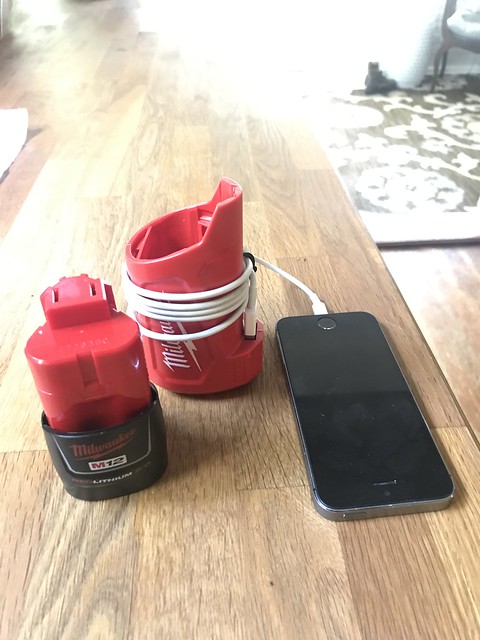
Speaking of batteries, the heat gun uses the M18 REDLITHIUM battery format that drives all of Milwaukee's 18v tools. So if you already have other red 18v tools, you won't need to pick up any additional batteries.
Hands on, this heat gun performs really well. It heats up very quickly and came up to a decent operating temperature of over 200 degrees Fahrenheit within about 30 seconds and a top operating temp of 875 degrees. It also has a very convenient LED light that will provide a good amount of light on the area you're heating, a flat bottom using the battery, and a convenient ladder hook on the back so you don't need to set it down anywhere that a hot tip might damage. But enough about the specs, let's take a look at how it works in real life.
Let me just tell you, this little heat gun came in very handy several weeks ago during the big freeze in the DC area and much of the rest of the country.
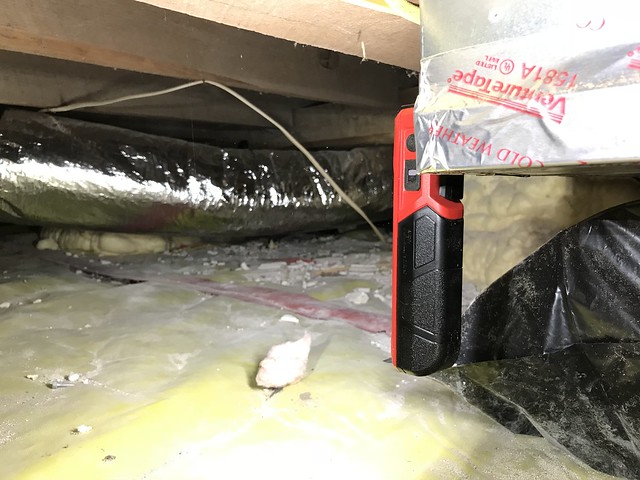
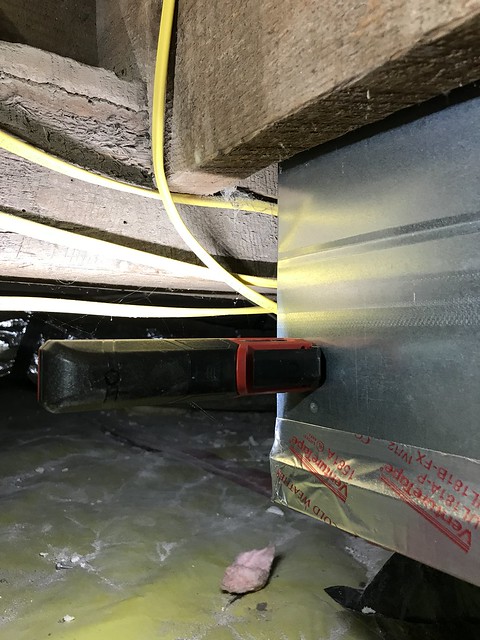
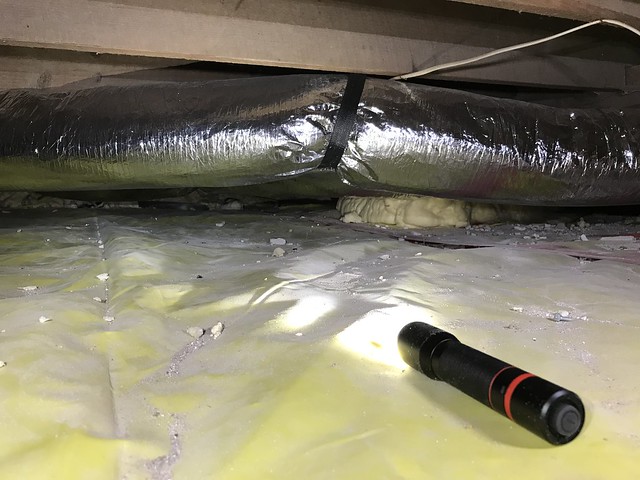
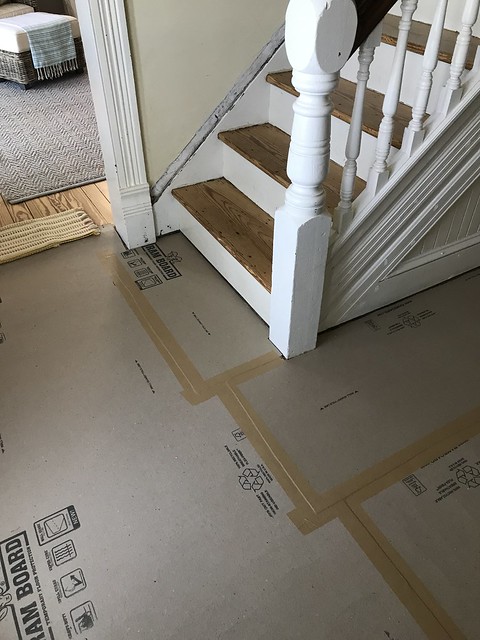
First we had a frozen toilet supply at our Foursquare as a result of an area below the floor with insufficient insulation. Without a corded heat gun on hand we broke out the cordless and made short work of the blockage.
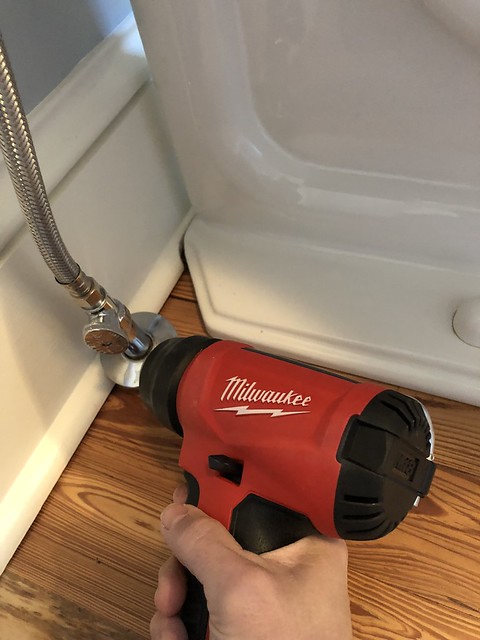
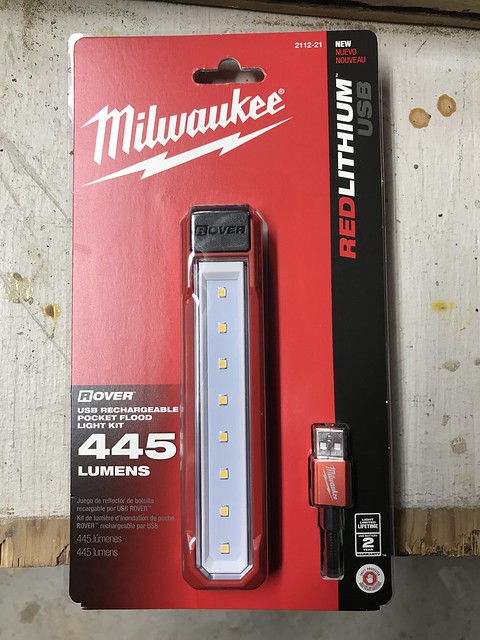
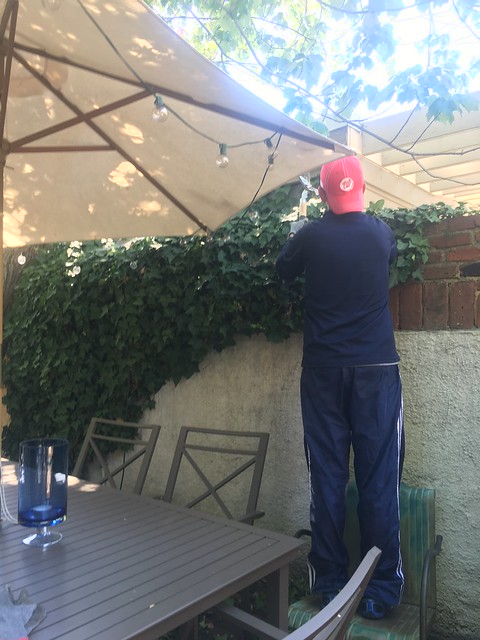
Shortly after that frozen supply issue we returned home to Alexandria following several days of 8 degree lows and found our entire house was without running water. As it turned out the supply line for our whole house had frozen outside at the water meter. Our area is certainly not used to single digit temps, and apparently the water meters are a little too exposed to the frigid air. While Wendy was on hold to our water company (there were tons of callers ahead of her due to the cold temps) I took our Milwaukee heat gun and little Rover LED light outside in the frigid temps and started warming the water meter.

After about 10 minutes of warming the meter and nearby elbow, the ice blockage came free and water to the house resumed. It certainly saved the day, and it was extremely convenient to take care of the issue without dragging extension cords from inside of the house to the outside. And the best news, we were able to get the water running before Wendy was taken off hold.
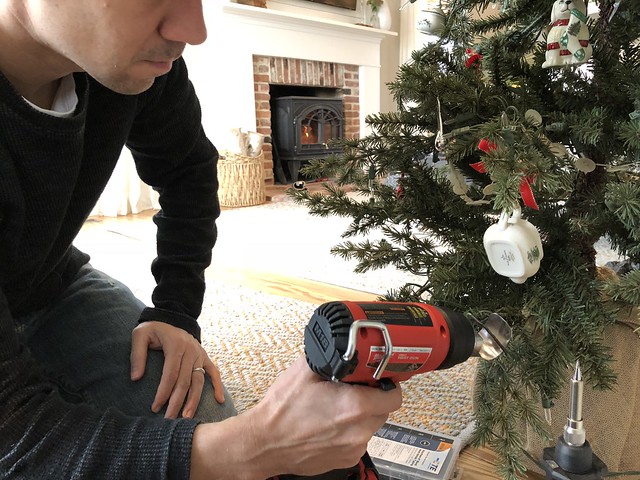
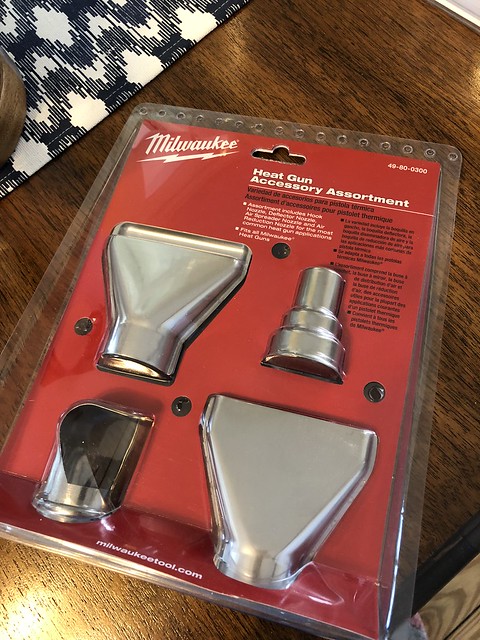
Beyond using the heat gun to warm frozen pipes (or thaw frozen padlocks, which it also does well) we've also used it to soften up some paint, as well as apply some heat shrink tubing when repairing our Christmas lights by removing a bad socket.

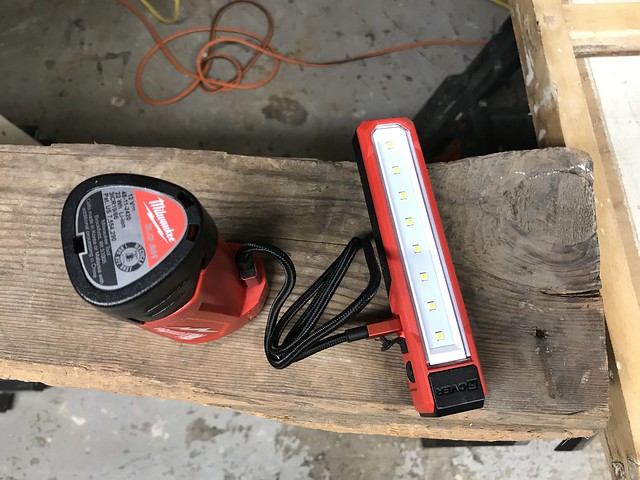
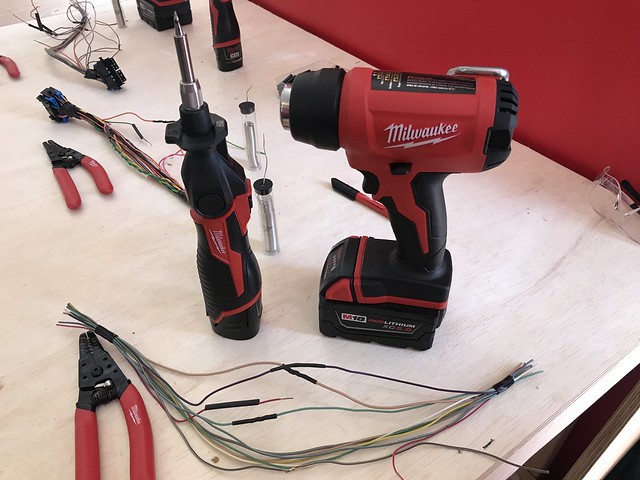
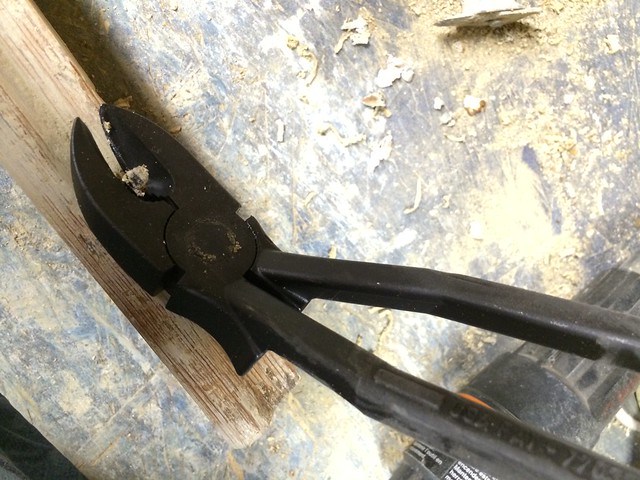
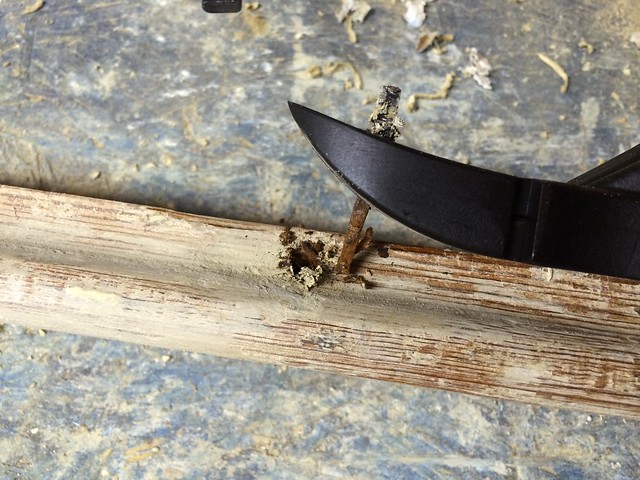
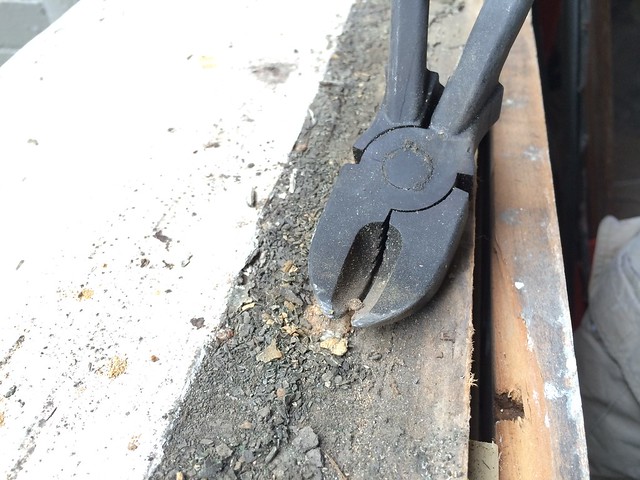
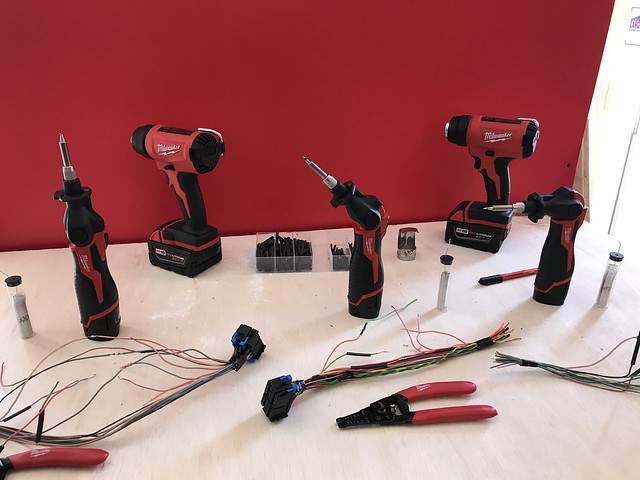
In this case we opted to cut out the bad socket and soldered the two wires together (using Milwaukee's M12 cordless soldering iron).

Then using the heat gun to cover the repair with some heat shrink tubing (using one of the attachments that also works well for pex repair).
These two tools made short work of our project in a tremendously convenient way. Quick and easy setup, safe operation, and a light on the soldering iron to let me know when the tip was cool enough to be put away.
The pros of this heat gun are clear. Fast to temp, compact, cordless, and reliable. It's versatile and can be used in many situations where it might be difficult or inconvenient to use a traditional corded heat gun. Best of all, as I mentioned, if you have other M18 Milwaukee tools, you've already got batteries.
As great as this tool is, there are also a few cons. At 6 CFM there's not a ton of airflow, so it's not going to really blast what you're working on. In other words, this isn't going to strip a lot of paint for you. Its top temp can't beat most corded guns, the temp isn't variable, and it does tend to chew through batteries, so it's probably best to have a spare charging if you're planning to use it a lot.
All that being said, I can certainly recommend this compact heat gun if you're in the market for a cordless heat gun option. It should work really well for hobbyists working on electrical projects, people in the automotive markets, and people that are looking to easily fix kinks in PEX, just to name a few groups that will love it.
Did you enjoy reading this post? Want to learn more about our first-hand experiences with other tools, devices or items used throughout our renovation? If so, check out our complete list of product reviews in our Toolbox Tuesday section.
Note: We were provided samples of the tools to try but we weren't compensated for this review. We simply want to share good products when we see them, and hope that learning from our experiences and/or mistakes can help save you time, money and frustration.
]]>