Okay, okay, we're still going to be updating our Live Blogging post of our hurricane experience, so be sure to check on back to yesterday's post for a rundown on our latest experiences with Sandy (aka Frankenstorm). Now, on with the show!
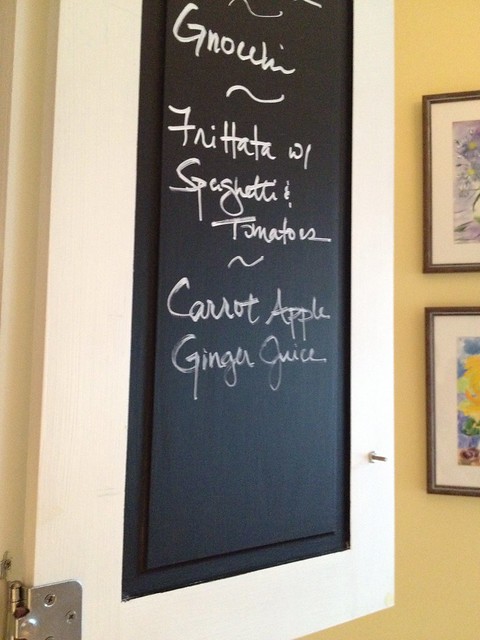
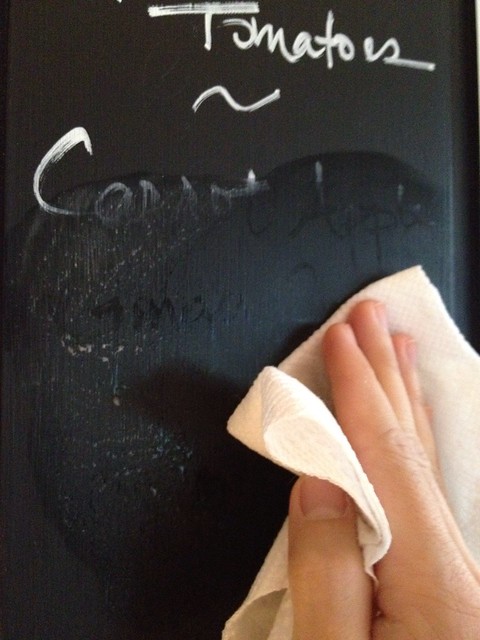
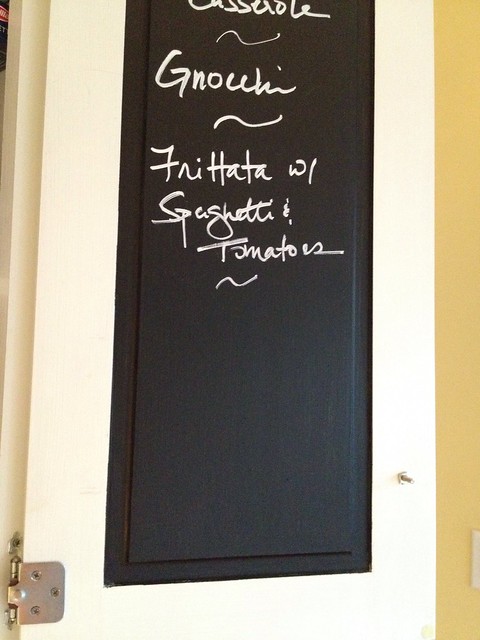
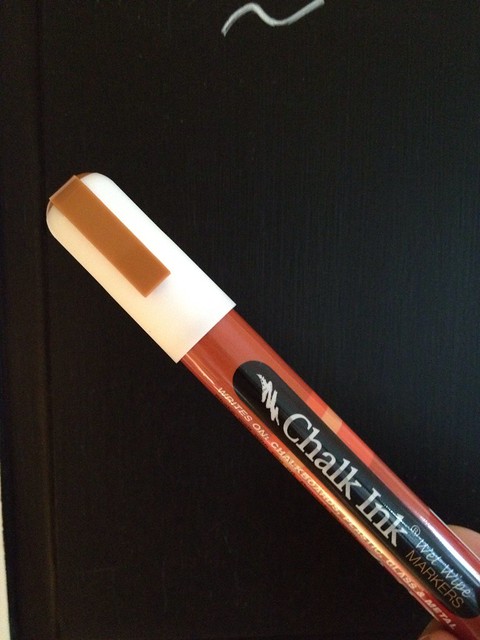
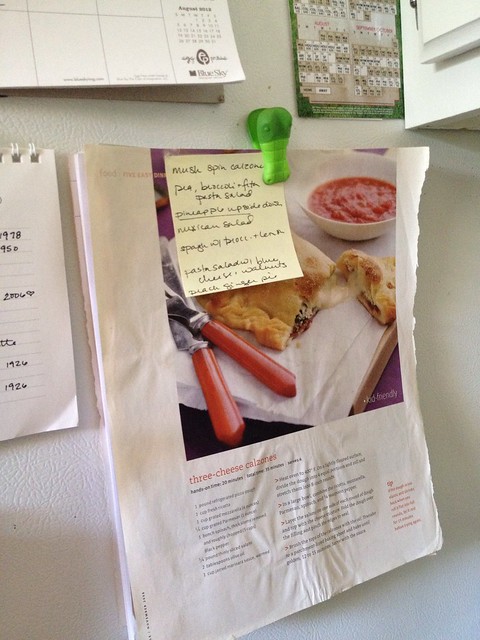
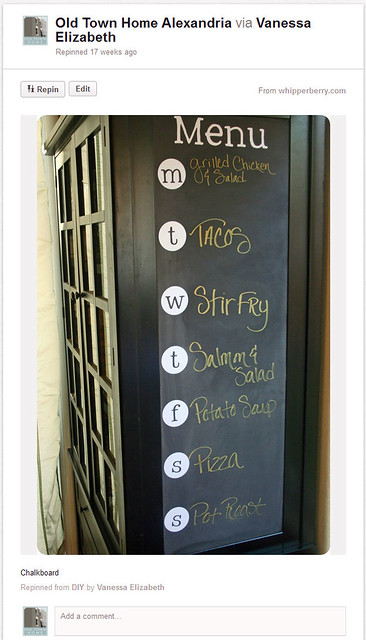
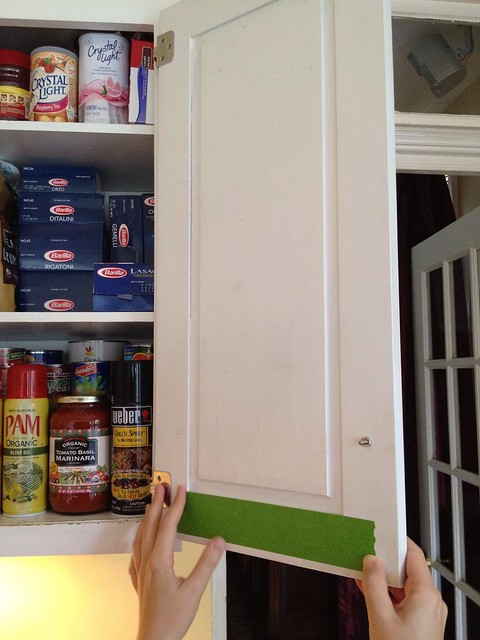
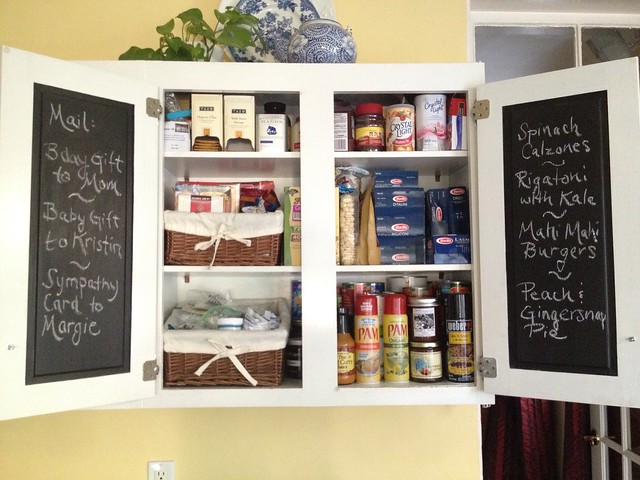
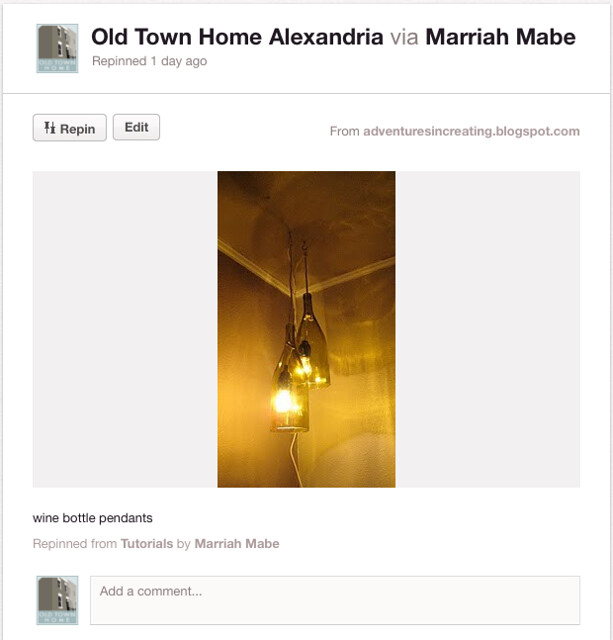
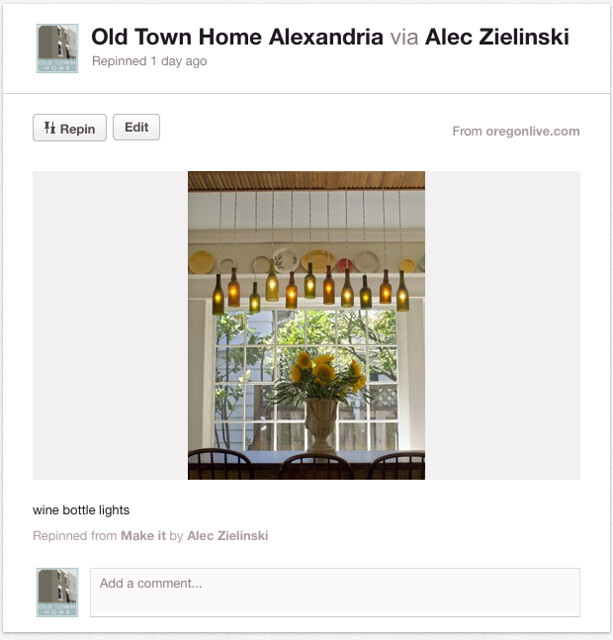
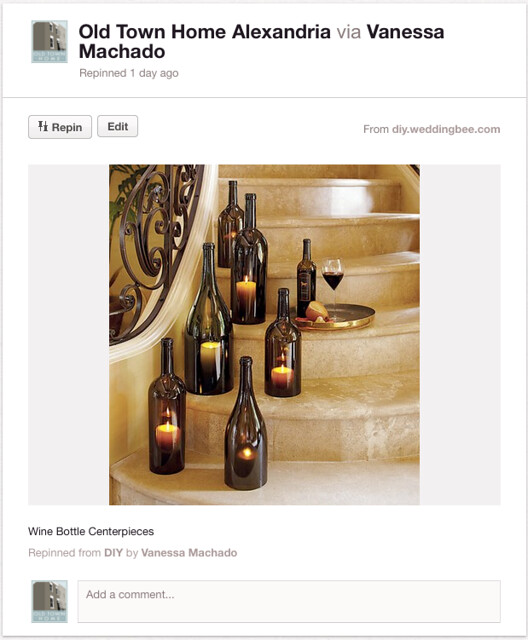
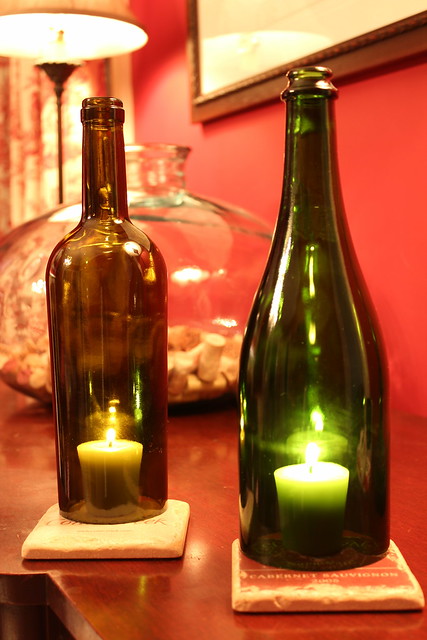
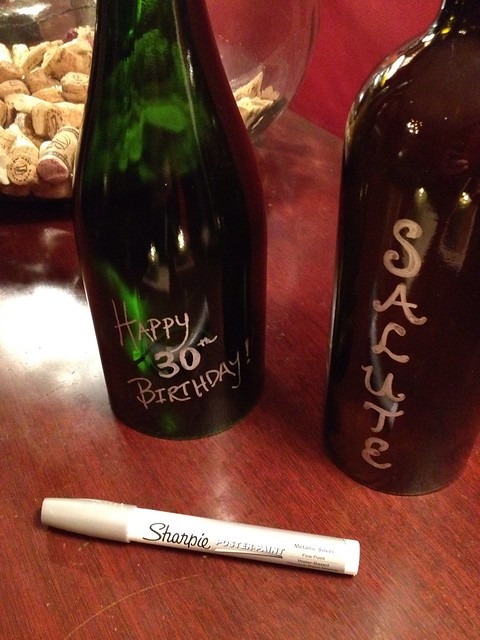
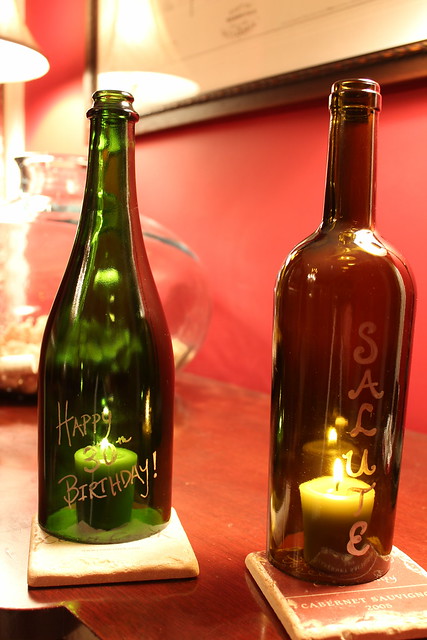
In the event you're not familiar with the Pinterest Challenge, it's an event put on by several DIY bloggers a few times a year that challenges other bloggers to use something they've pinned on Pinterest as inspiration for their own project. The goal is to get people "doing" and to make/build/create their own version of a pin they like with a twist to make it their own. If you don't know what Pinterest is...well...click on this link, sign up, and prepare to lose at least the next several weeks of productivity. In the past, I've seized the Pinterest Challege opportunity to create a hidden chalkboard memo zone in our kitchen, as well as transforming empty wine bottles into candle holders.
Before we go any further we need to thank this Pinterest Challenge's list of gracious hosts, Sherry from Young House Love, Katie from Bower Power Blog, Sarah from The Ugly Duckling House, and Carmel from Our Fifth House.
The timing of the Fall Pinterest challenge turned out to be absolutely perfect for our purposes, as we recently completed a Pinterest-inspired project for our annual Halloween party just over a week ago. As you may already know, I enjoy going a little overboard when throwing our Halloween party, and I like to go to a little bit of extra effort to ensure our guests have a great time. I covered many of the special touches that I exercise for our party in a post last week, but there's one thing that I failed to mention.
Party favors are an integral part of our guest's party experience each and every year. I always like to send guests home with a little goodie bag of Halloween inspired treats to remember us by. Whether it's a small bag of Reeses Pieces, cookies, candy corn, or any number of "fall-ish" and "Halloween-ie" goodies, our guests have told us they often appreciate the snack later that night or the next day.
This year I wanted to do something a little bit more unique as a party favor, something we hadn't done before. While looking around on Pinterest for a little pinsperation, I came across this great idea from Lexi Daly over at Confetti that shows how to build an Easter Smores treat using Peeps! So simple, so unique. Pure genius!

When I saw this pin I thought to myself, "This is great for Easter, but this is simply brilliant for Halloween!" S'mores totally feel like fall to me, and Peeps now have some pretty awesome Halloween types of late.
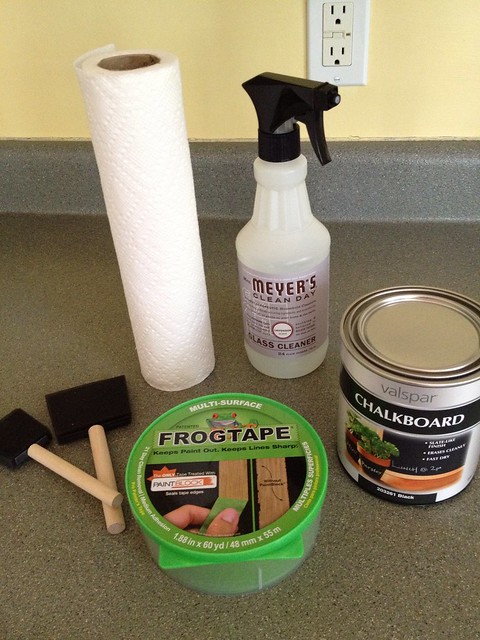
Assembly of this little Halloween wonder is incredibly simple. I started by purchasing all of my necessary supplies. Our local craft store had the clear bags I'd need, as well as Halloween style ribbon and stickers that would not only seal the bags but add the final flourish I was looking for.
more]]>
Okay, okay, we're still going to be updating our Live Blogging post of our hurricane experience, so be sure to check on back to yesterday's post for a rundown on our latest experiences with Sandy (aka Frankenstorm). Now, on with the show!
In the event you're not familiar with the Pinterest Challenge, it's an event put on by several DIY bloggers a few times a year that challenges other bloggers to use something they've pinned on Pinterest as inspiration for their own project. The goal is to get people "doing" and to make/build/create their own version of a pin they like with a twist to make it their own. If you don't know what Pinterest is...well...click on this link, sign up, and prepare to lose at least the next several weeks of productivity. In the past, I've seized the Pinterest Challege opportunity to create a hidden chalkboard memo zone in our kitchen, as well as transforming empty wine bottles into candle holders.
Before we go any further we need to thank this Pinterest Challenge's list of gracious hosts, Sherry from Young House Love, Katie from Bower Power Blog, Sarah from The Ugly Duckling House, and Carmel from Our Fifth House.
The timing of the Fall Pinterest challenge turned out to be absolutely perfect for our purposes, as we recently completed a Pinterest-inspired project for our annual Halloween party just over a week ago. As you may already know, I enjoy going a little overboard when throwing our Halloween party, and I like to go to a little bit of extra effort to ensure our guests have a great time. I covered many of the special touches that I exercise for our party in a post last week, but there's one thing that I failed to mention.
Party favors are an integral part of our guest's party experience each and every year. I always like to send guests home with a little goodie bag of Halloween inspired treats to remember us by. Whether it's a small bag of Reeses Pieces, cookies, candy corn, or any number of "fall-ish" and "Halloween-ie" goodies, our guests have told us they often appreciate the snack later that night or the next day.
This year I wanted to do something a little bit more unique as a party favor, something we hadn't done before. While looking around on Pinterest for a little pinsperation, I came across this great idea from Lexi Daly over at Confetti that shows how to build an Easter Smores treat using Peeps! So simple, so unique. Pure genius!
When I saw this pin I thought to myself, "This is great for Easter, but this is simply brilliant for Halloween!" S'mores totally feel like fall to me, and Peeps now have some pretty awesome Halloween types of late.
Assembly of this little Halloween wonder is incredibly simple. I started by purchasing all of my necessary supplies. Our local craft store had the clear bags I'd need, as well as Halloween style ribbon and stickers that would not only seal the bags but add the final flourish I was looking for.
Next, I needed to all of my edible supplies, most notably I needed to find Halloween Peeps. This task turned out to be a little tougher than I expected. We went to Target, CVS, Wallgreens, Giant, Safeway, and several other places expecting each one to have a stocked shelf or two of little marshmallow ghosts, bats, or pumpkins, but none were to be found. Knocking out the graham crackers and chocolate were no problem, but the marshmallows were the issue. After striking out at our several locations we decided to cut out the middleman and go right to the source, the Peeps & Co store in National Harbor (in the Washington, DC area).

Yes, you read that correctly, a whole store dedicated to those little marshmallow chickens (and mow many other things). If you're a fan of Peeps, this is a can't miss location. Just look at the official Peep store's great Halloween display. We obviously had many different options to choose from.

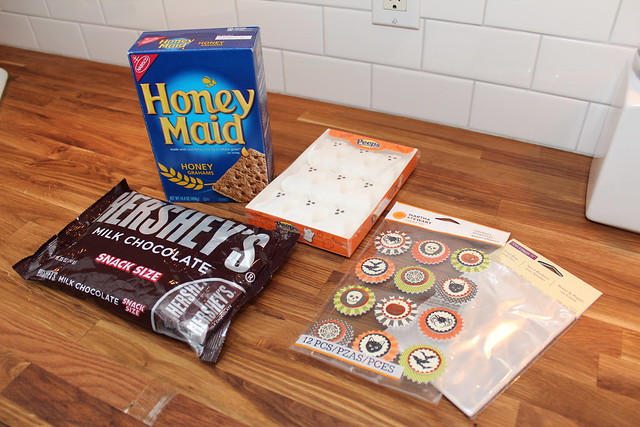
We purchased several packages of ghost peeps and headed home to begin assembly. Here are all of the supplies we needed for the build minus the ribbon we ended up using.
Putting these delicious and festive favors together is a piece of cake.
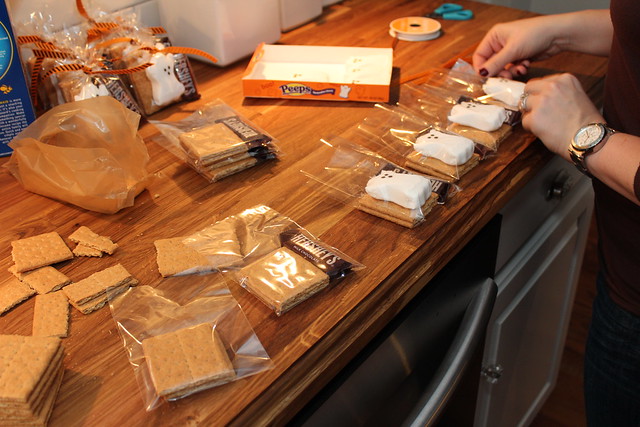
Alex and I created a sort of assembly line that allowed us to build all of the ghost peep smores very easily.
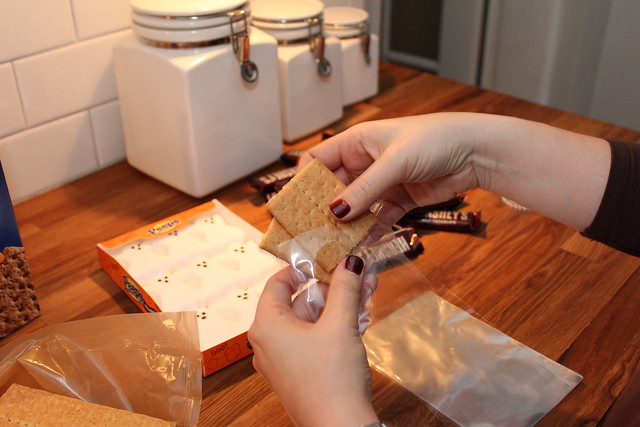
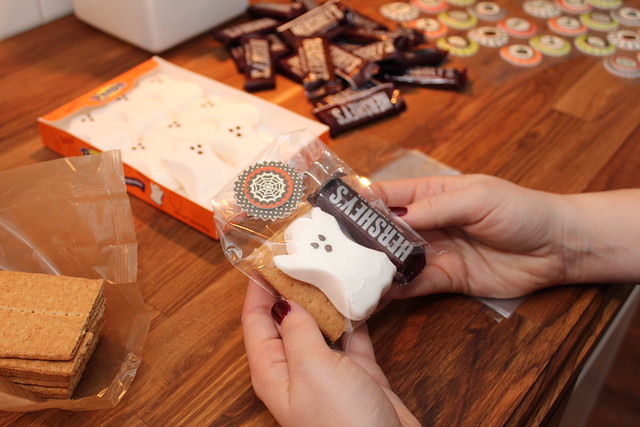
The first step is to break all of your graham crackers in half and place the two halves of each cracker into the bags.
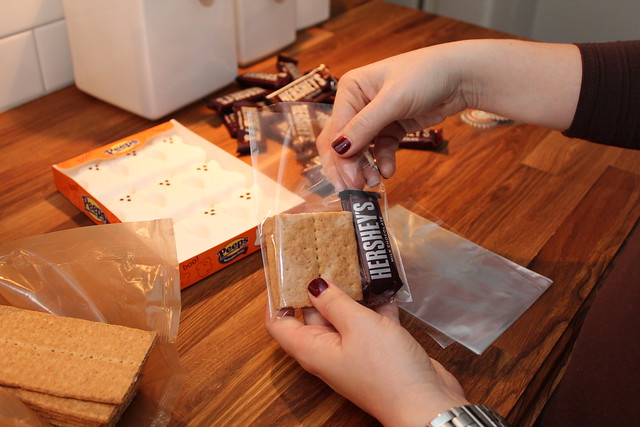
With the crackers in the bag, place a single chocolate bar into each bag to the right of the crackers with the label facing out.
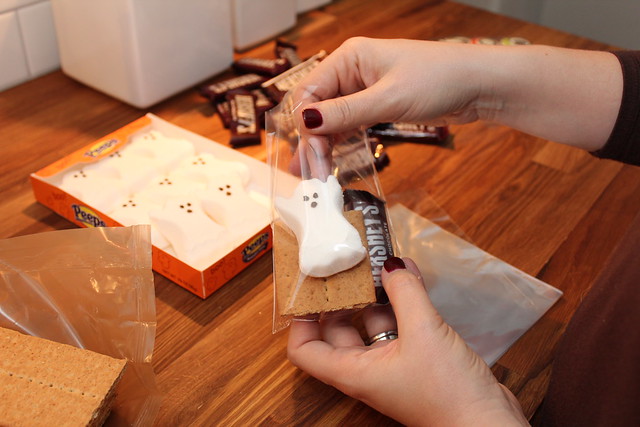
Finally, carefully slide a ghost (or preferred Peep shape) into the bag and rest them in front of the crackers. If you aren't careful on this step, you'll end up with marshmallow innerds smeared on the bag, a definite party favor foul.
I used two different methods for closing the bags. The first was to use the little medallion stickers I picked up at the craft store. These stickers are some of the latest Halloween items from the Martha Stewart collection, and they're really cute, in a spooky sort of way. To adhere them, I folded the bag over and used them to seal it shut.
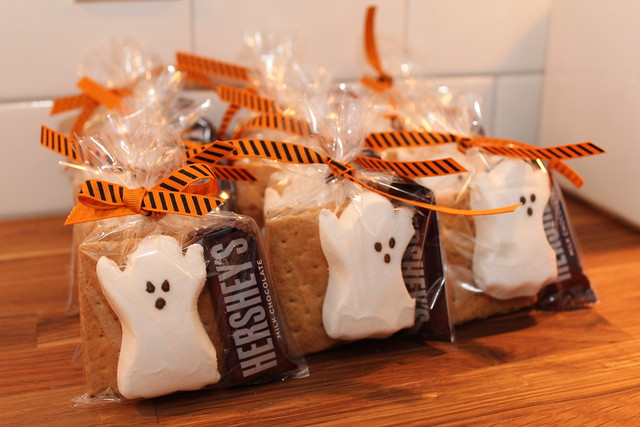
To change things up a bit, I finished off the remainder of our bags by using a short length of orange and black ribbon, by first gathering the excess bag at the top, and securing the ribbon around the excess. Personally I prefer the ribbon look to the sticker medallions, but both were quite workable.

Here's the final after shot of this adorable and unique favor for our guests.

After assembling quite a few, we ended up with a little Peep s'mores army just waiting to be given to our party guests. At the end of the day, the Ghost Peep s'mores were a big hit. We even saw a tweet about the favor from one of our guests the day after the party.
Overall, the Ghost Peep Smore project was a success. It was quick, easy, inexpensive, and provided our party goers with a unique and memorable parting gift that was as much fun to eat as it was to receive. Not only did it work well for Halloween and Easter, but this idea would work for any of the numerous events Peeps now cater to. Can anyone say "Arbor Day Peep Smores?"
Would you have liked to receive this as a party favor? Was it a good use of Peeps, or would you have used a different approach? Or if you've ever made some seriously rockin' party favors, please share your secret so that we may pin and copy it. Let us know what you think.
]]>