Personally, I'm a self proclaimed bargain hunter. My friends know as me as shrewd negotiator, always on the hunt for a deal, and never wavering in my desire to achieve big budget looks at bottom dollar pricing. I understand that there may be a time and place to pay full price, but that time and place usually isn't one where I'll be found!
Over the last several years, as we've been establishing our decor style and preferred aesthetic in our Foursquare on the water, I've been deal hunting and stock piling. Whether we're talking antiques, light fixtures, textiles, art work, or accessories, I have a mental plan for our home and I'm always looking for items that would fill the gaps in this style.
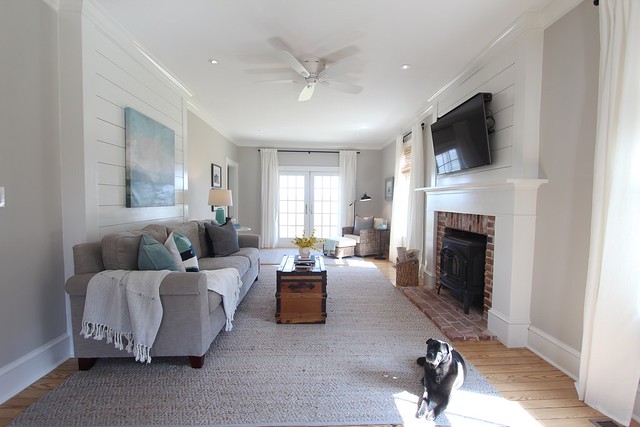
In a nutshell, we're going for a "coastal farmhouse with antique accents" vibe, primarily because our home is an historic coastal farmhouse (go figure, embracing both the age and style of the house in its decor). As I've found decor items that fit with this style, and they happen to be a good price, either by happenstance or shrewd negotiating will, I pick them up for later use.
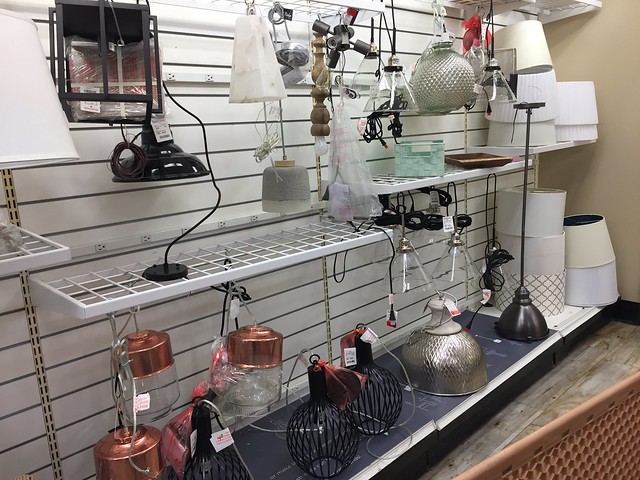
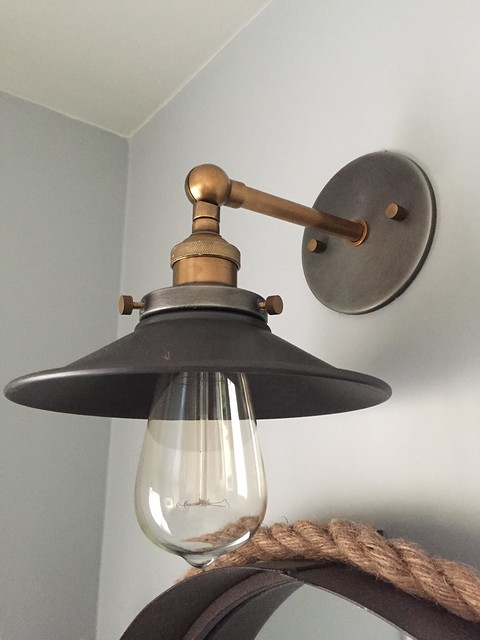
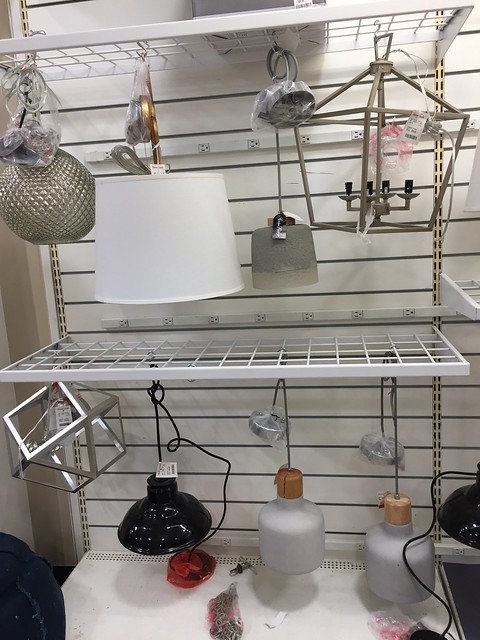
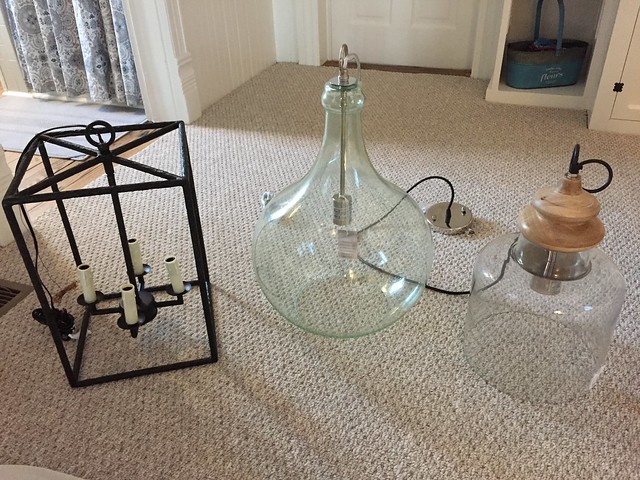
This tactic is precisely how we've ended up with several hanging fixtures for our home, all occupying space in their boxes in the attic. The themes of each are consistent with the others. Lots of light browns with natural wood, some with a gray weathered appearance, textured fabric like burlap, glass globes or domes with plenty of imperfections, and rough traditionally nautical rope accents. Here are just a few examples of my hoard.
more]]>Personally, I'm a self proclaimed bargain hunter. My friends know as me as shrewd negotiator, always on the hunt for a deal, and never wavering in my desire to achieve big budget looks at bottom dollar pricing. I understand that there may be a time and place to pay full price, but that time and place usually isn't one where I'll be found!
Over the last several years, as we've been establishing our decor style and preferred aesthetic in our Foursquare on the water, I've been deal hunting and stock piling. Whether we're talking antiques, light fixtures, textiles, art work, or accessories, I have a mental plan for our home and I'm always looking for items that would fill the gaps in this style.
In a nutshell, we're going for a "coastal farmhouse with antique accents" vibe, primarily because our home is an historic coastal farmhouse (go figure, embracing both the age and style of the house in its decor). As I've found decor items that fit with this style, and they happen to be a good price, either by happenstance or shrewd negotiating will, I pick them up for later use.
This tactic is precisely how we've ended up with several hanging fixtures for our home, all occupying space in their boxes in the attic. The themes of each are consistent with the others. Lots of light browns with natural wood, some with a gray weathered appearance, textured fabric like burlap, glass globes or domes with plenty of imperfections, and rough traditionally nautical rope accents. Here are just a few examples of my hoard.
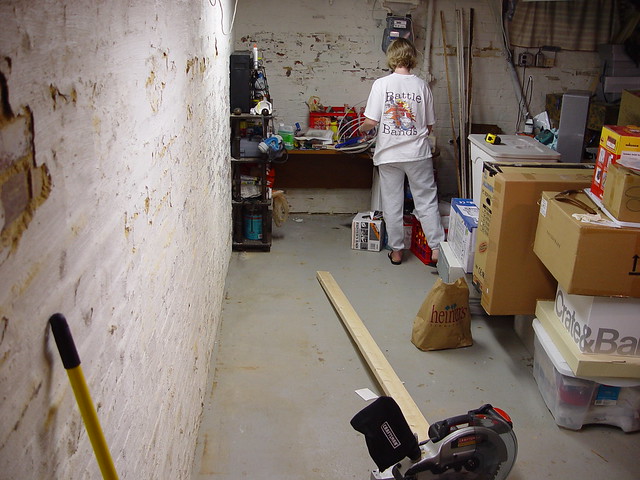
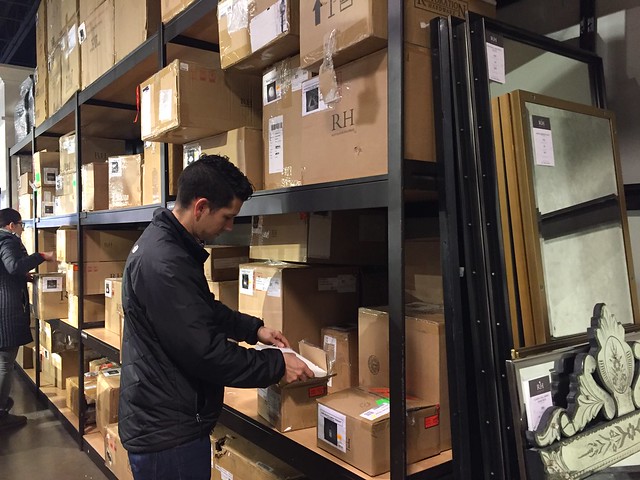
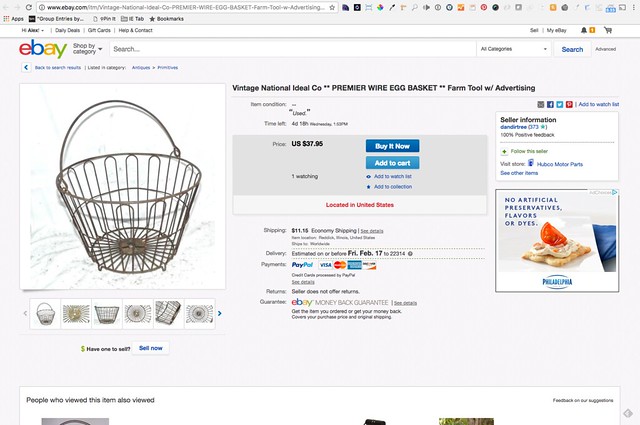
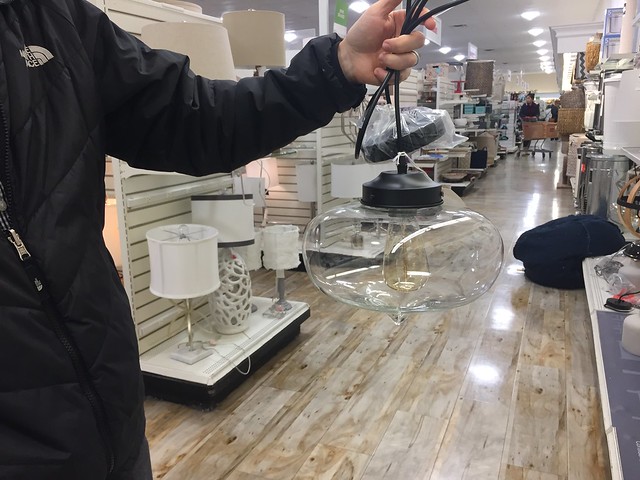
Once such instance in which a lonely low cost but beachingly charming light fixture looking for a good home found me was on a trip to the Restoration Hardware Outlet in Leesburg, Virginia. It's actually in the box at the bottom of this photo. Yes, that says "BASURA" on the box, but I could see this fixture was far from trash!
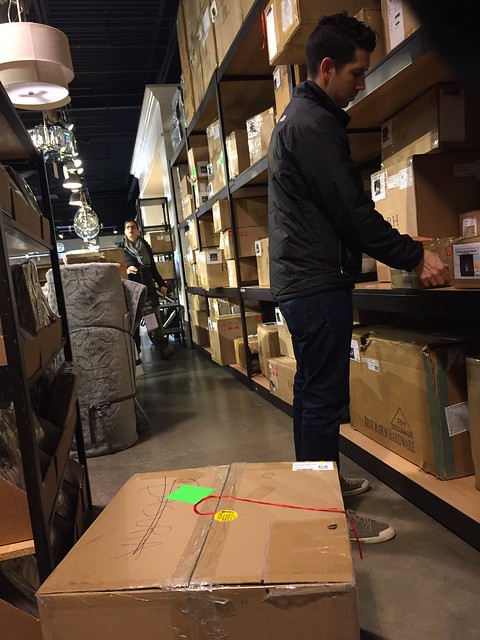
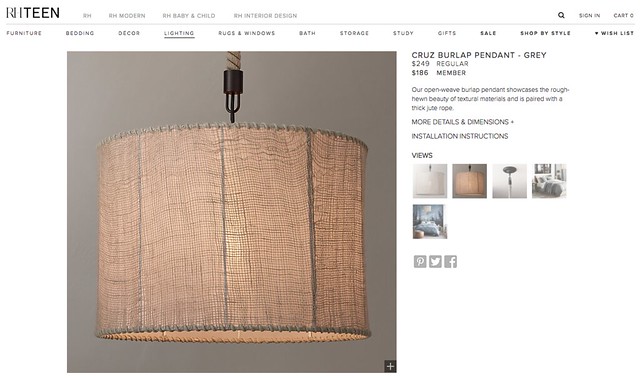
Within the box was an apparently perfect looking Cruz Burlap Pendant fixture from RH Teen. Not only is it a burlap covered drum shade, the black metal accents and the large twisted nautical style rope was perfect for our house. While the regular price, still available on the website today, is $249, the outlet price for this light, an amazing $45!! It would have been a tragedy to NOT buy it!
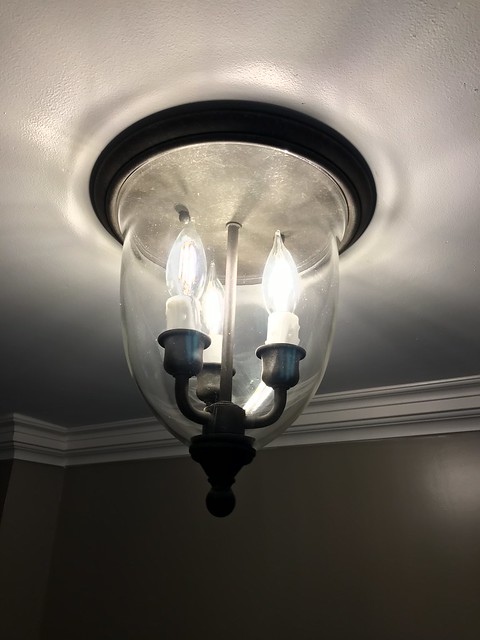
So I purchased it, tucked it away in the attic, and began planning for the day we'd be able to install it as our dining room chandelier, even though our dining room renovation was still a ways off. I'd be remiss if I didn't mention the fact that this new light bumped the large glass light from the earlier photo in this post. This is a case where deals give you options.
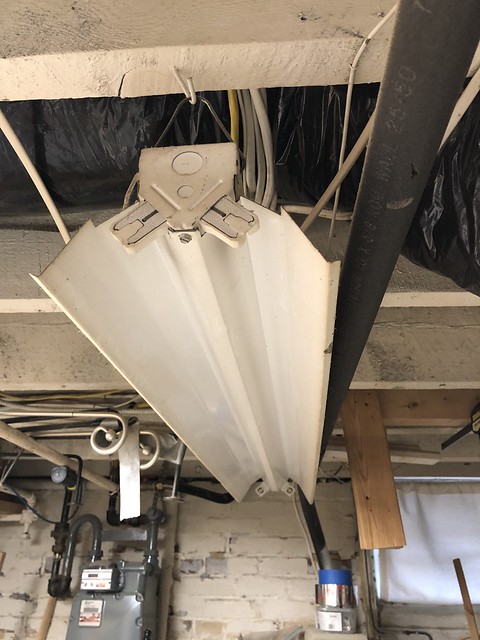
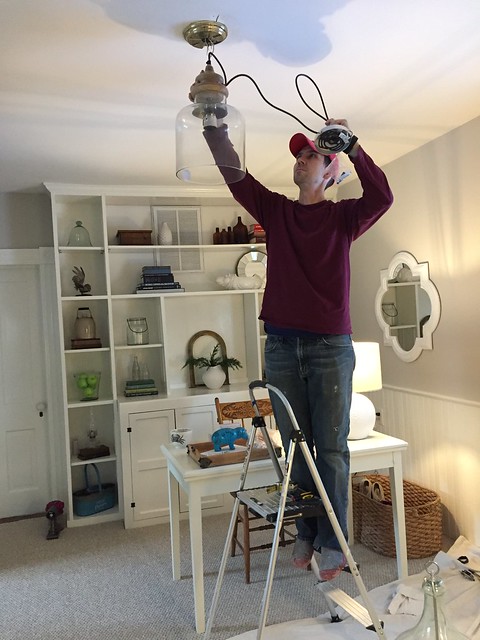
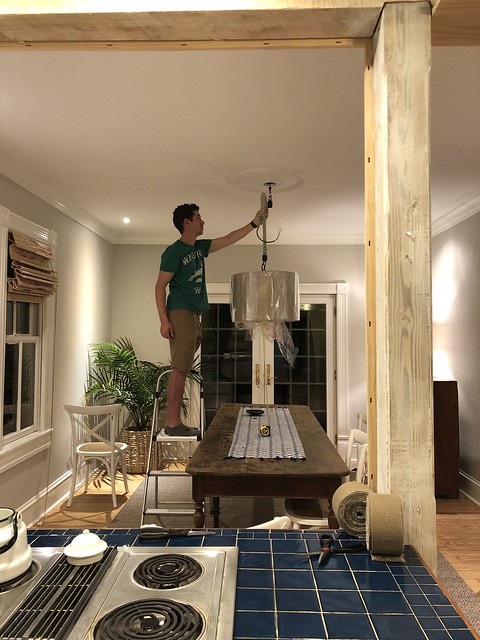
Fast forward a little over one year, our dining room renovation began in late 2017 and has progressed to the point where the plaster is restored, everything is painted, and we're ready to install our light fixture. We excitedly pulled the box marked Basura from the attic and began the glorious unboxing process. We knew the rope that supported the fixture was a bit too long and would need to be reduced in length, but that didn't seem like that big of a deal.
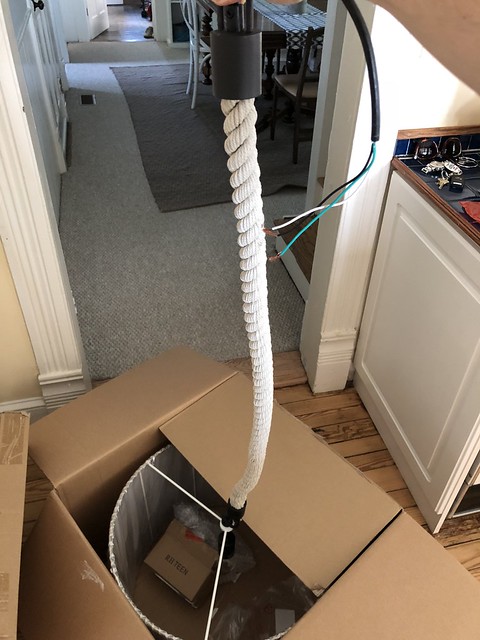
We figured we'd pop the box open, adjust the length, and then install the light. Much to our chagrin, when we broke this light out and looked over the assembly, there wasn't an obvious option to adjust the length of the rope. The shade itself is 14", the rope comes standard at 36", and when you include all of the mounting hardware you're looking at a total fixture height of about 56". When you have a normal height ceiling, say 9' like in our home, that puts the mounting height of this fixture at a solid 4' off the ground.
We hunted around the RH website and eventually determined that the length of this rope, and the light fixture as a whole, was intentionally not adjustable. How dumb is that? You basically needed to have a vaulted ceiling or something similar that offers about 13'-14' ceiling height. No wonder it was so cheap at the outlet (but doesn't explain why it's still for sale full price on the website).
As we dug into our options we decided the only acceptable path forward for our needs was to alter the light's rope length. Alex was confident we'd be able to figure it out, so we started doing one of the things we know best, taking it apart.

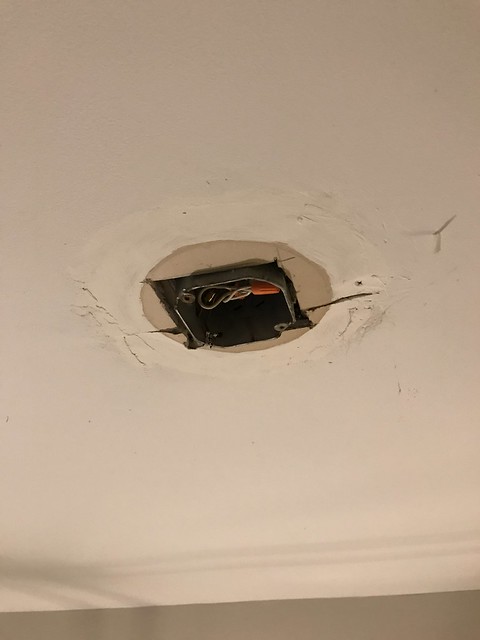
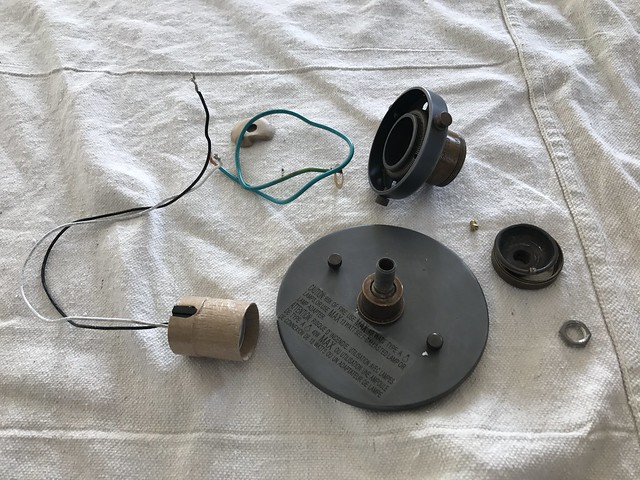
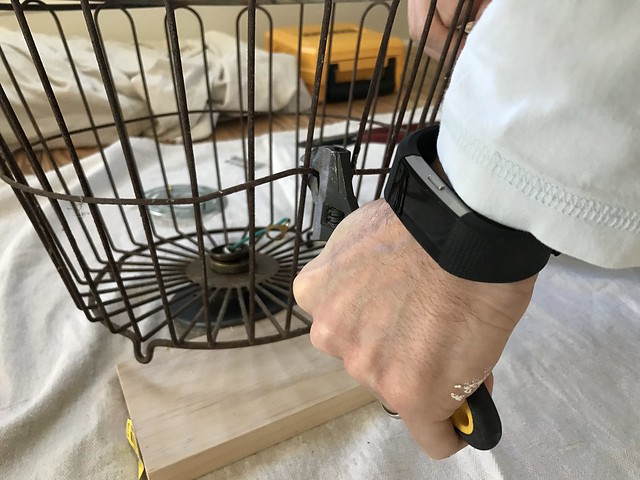
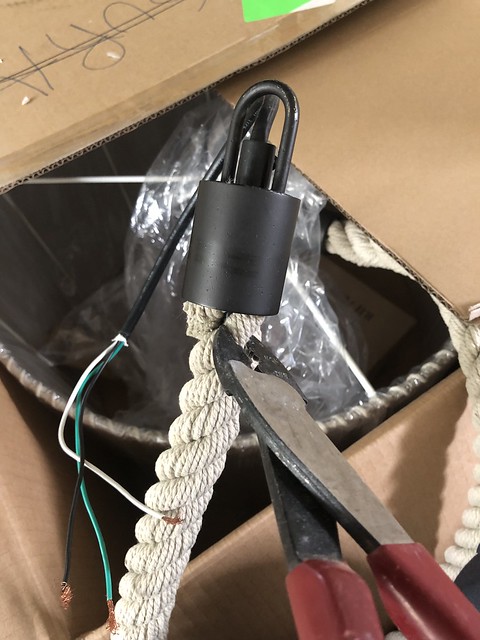
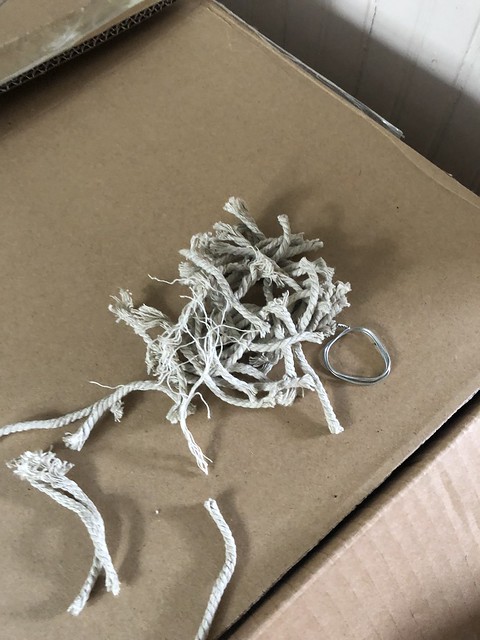
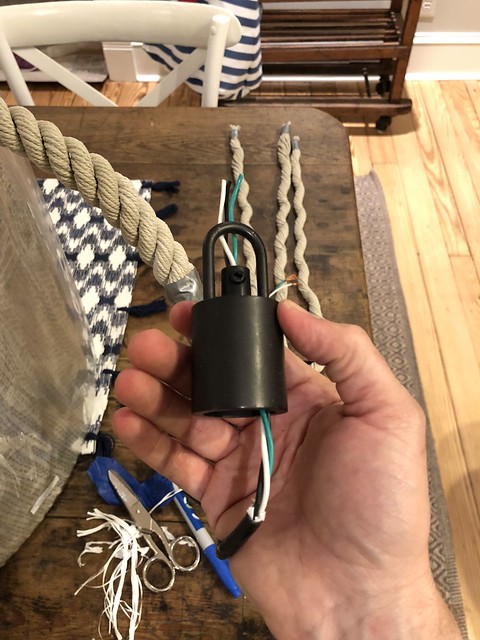
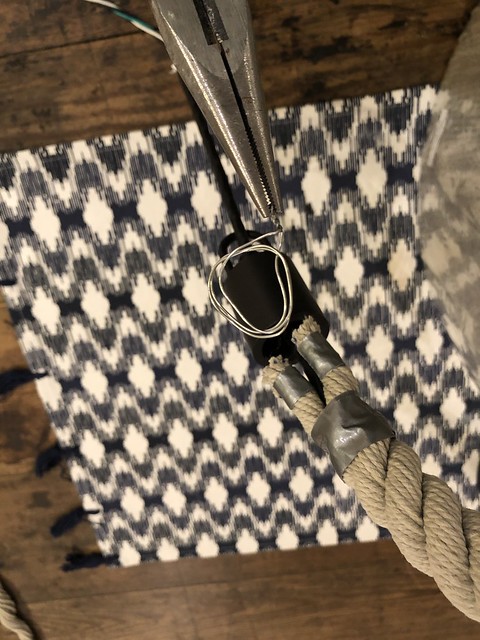
The rope assembly is pretty simple. It consists of about a dozen or so small cotton strings twisted into three pairs of thicker ropes, that are then twisted together around a central black plastic wire. The wire is essentially what holds the weight of the fixture, and the rope is more decorative than anything. As you can see in the above photo, the wire is pinched in place by a set screw within the mounting hardware. But once the set screw was loosened, we couldn't remove the rope from the metal housing. Undeterred, we started hacking at it, cutting the rope but being careful not to cut the wire.
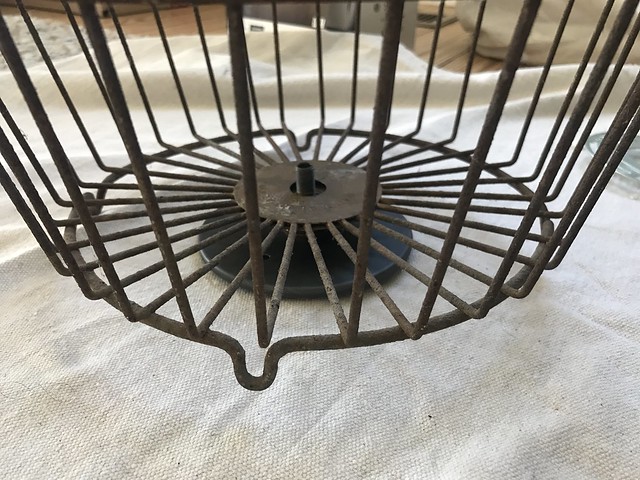
Once we'd begun freeing the rope from the housing we slowly started to see how it was put together.
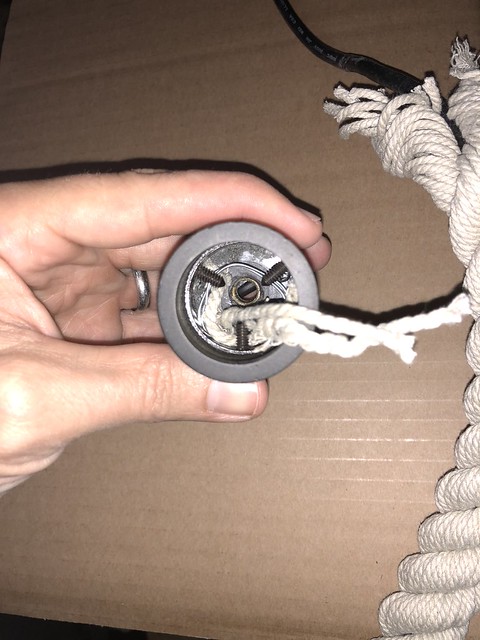
The interior of the metal housing has three screws mounted towards the center that act as a sort of cleat around the rope. There's also a metal wire that wraps around the top of the rope that holds onto the metal screws and keeps the rope in place.
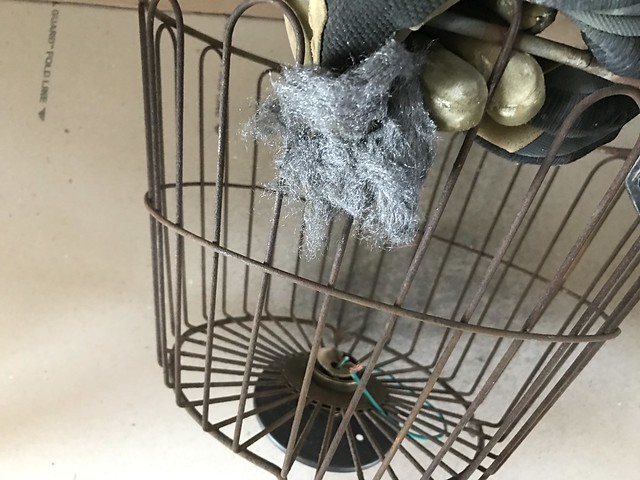
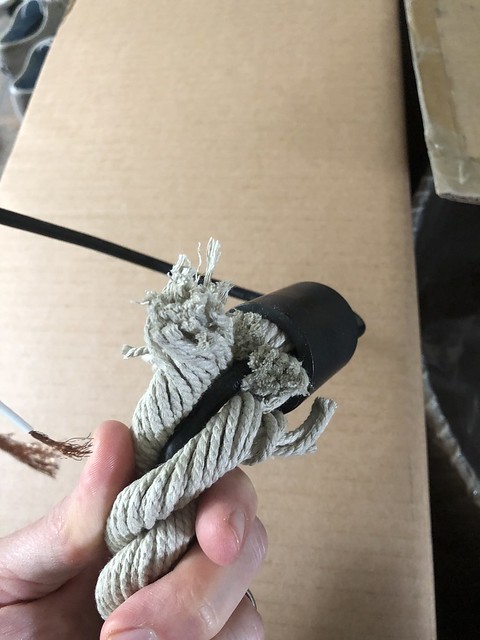
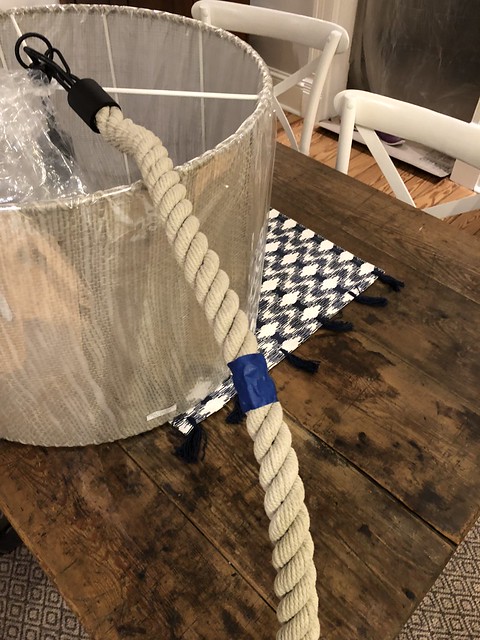
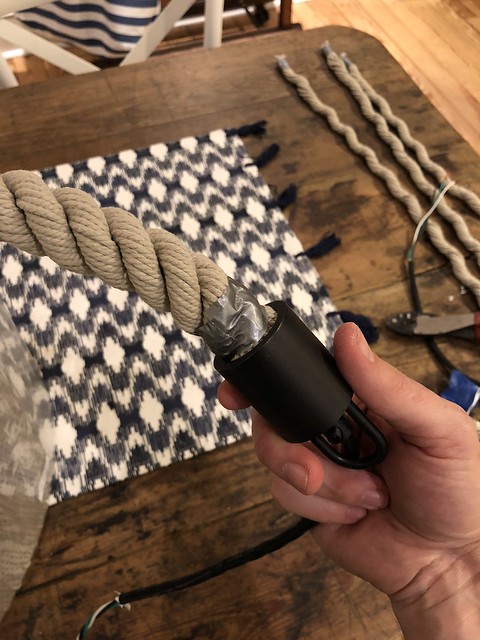
While we tried to figure out how to handle reassembly we wrapped some duct tape around the top of the rope to make sure the twist stayed in place. I certainly didn't want the whole thing falling apart while we were fooling around with a plan, and this twisted rope tends to want to unravel when nothing is holding it.

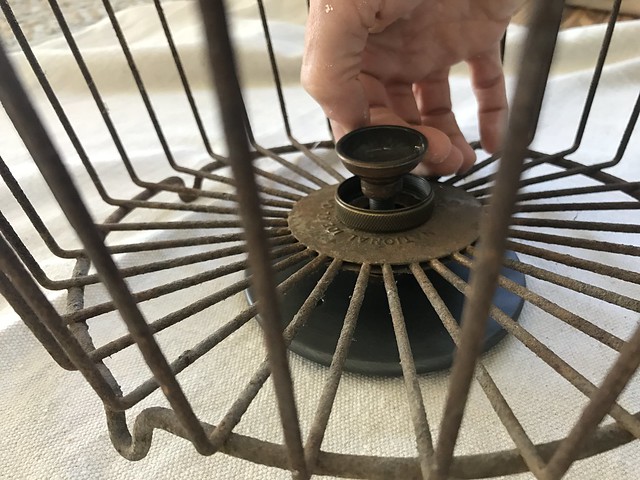
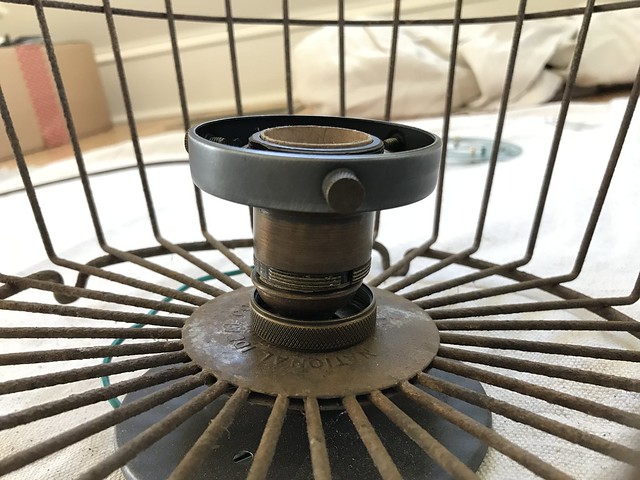
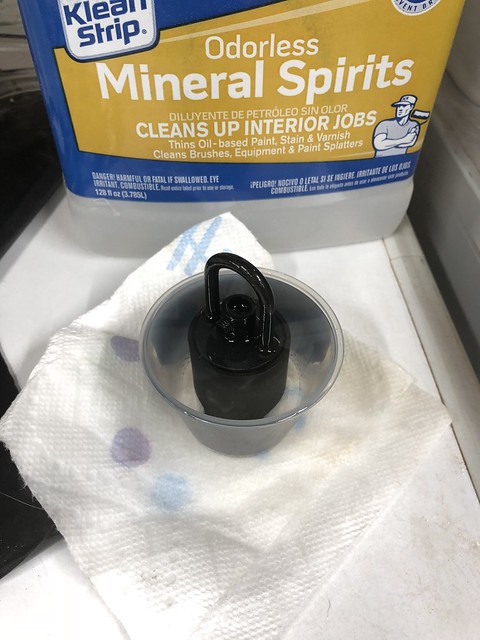
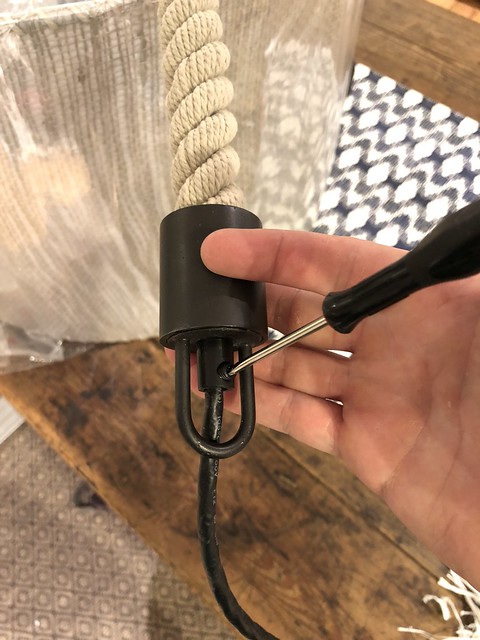
At first glance, it seemed like this should be easy. The housing and hook at the top are obviously two pieces, one that threads into the other. Alex took his tools to the mounting loop and tried to loosen up the two pieces. If we could get them apart, we'd just need to trim to length, slide the housing over the end of the rope, wrap the end of the rope in a new piece of wire, and thread it all back together again. But things are rarely that easy. It seemed like there was a bunch of super glue adhesive on the two pieces that essentially cemented them together within the threads. At the very least, we had ourselves a broken disassembled light fixture.
Alex tried to soften the adhesive by allowing it to sit in a cup of mineral spirits for a while. Unfortunately, that did nothing.
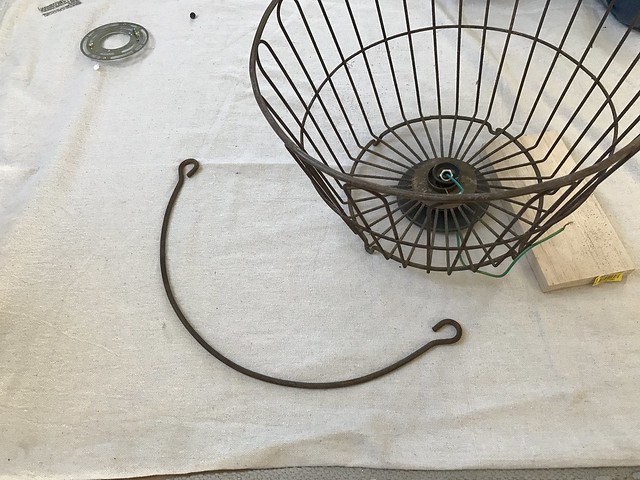
After we made several valiant attempts at separating the two pieces we decided to go back to the drawing board. Since we couldn't get the pieces apart, I suggested shortening the whole thing and then trying to fit the rope back into the housing. Alex noted that the whole fixture is actually supported by the wire more than it is the rope, so this might be able to work if we could get the wire past the three screws.
Before we could shorten things we needed to figure out the correct height based on our table. Without shortening anything the light was practically on the table.
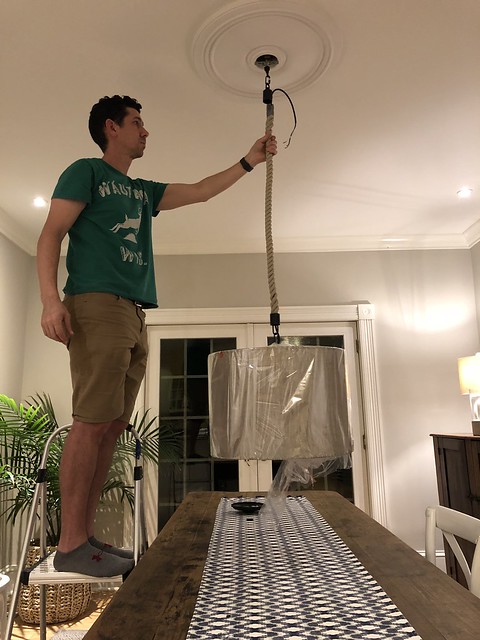
Obviously, this wouldn't work. The ideal height of a chandelier above your dining table is supposed to be 30"-34" for an 8' ceiling, with an additional 3" per one foot of ceiling height. So that means 33"-37" for our table.
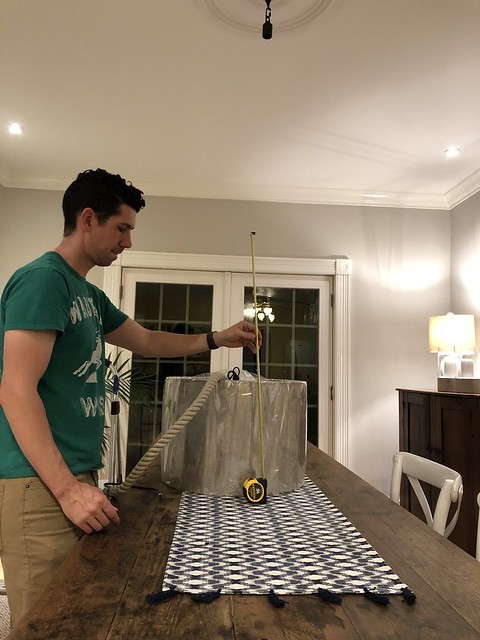
After we broke out the tape measure, Alex held the fixture at the desired height while I viewed things from the table to make sure it looked good while seated and while standing in the next room.
Once we had what we felt was an ideal height we quickly marked the cut line with some painters tape, then with some sharpie.
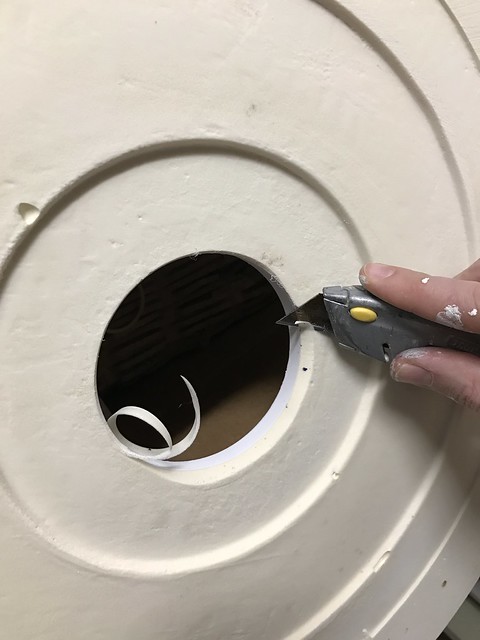
Before we actually made the cut we started to unravel the rope. With nothing holding it together the rope was almost trying to unravel itself.
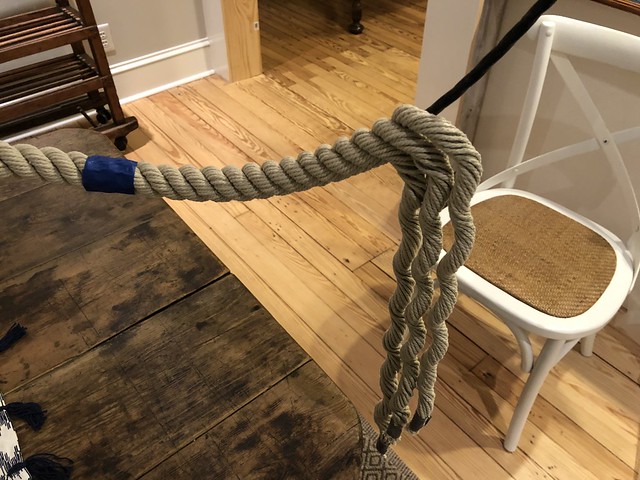
When we got close to the cut mark, but before cutting, we placed a few pieces of duct tape on the pieces of rope just above and below the cutline to hold things together, then Alex cut each section of rope individually.

After removing the necessary length of rope and setting it aside, Alex trimmed the wire's length to also work better with the new height. He left the wire about 12" longer than the end of the rope to give enough length into the electrical box.

Reassembly was actually pretty simple. We made sure to wrap the rope tightly around the central wire, then ran the wire up through the center of the upper housing.
Now the somewhat tricky part, getting the rope back into the housing. Alex took the length of wire and wrapped it tightly around the top of the rope. We also left the duct tape on the very top of the rope twists just to keep everything together. The second ring of duct tape was just holding everything in place and was positioned to be removed after the rope was firmly in the housing.
Inserting the rope into the housing was a matter of twisting the housing onto the rope in a counter clockwise manner. While Alex twisted, the metal wire was able to move over the screws and then securely seat within the housing.
Once fully seated Alex pulled the remainder of the wire through the collar and then secured the set screw to hold everything in place.
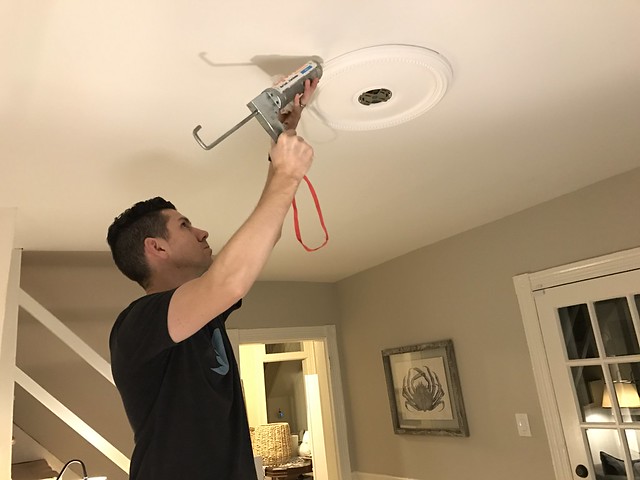
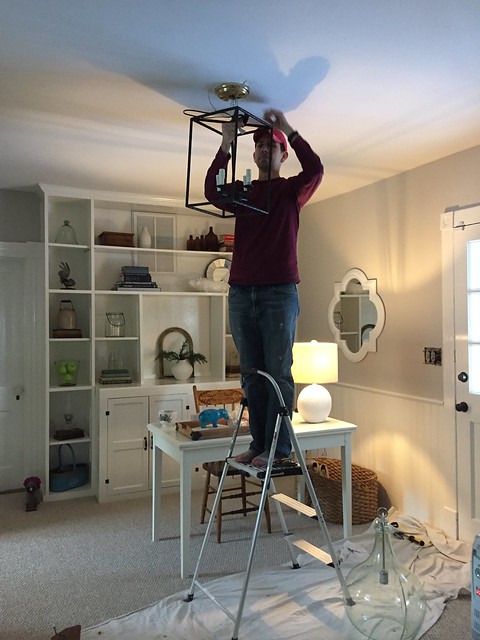
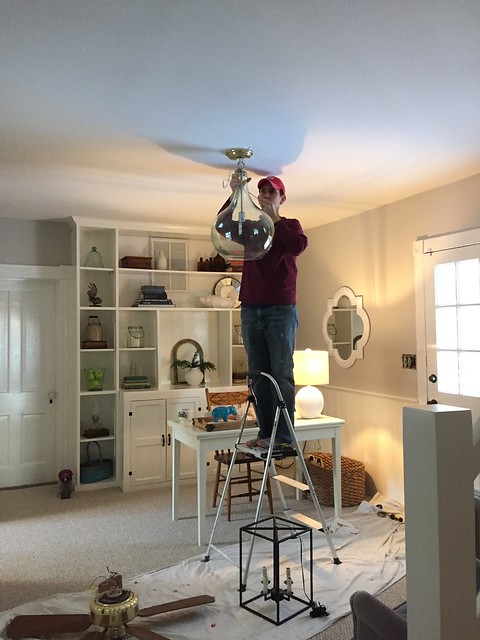
Following a bit of nervousness where we worried we possibly wouldn't get it back together, we were in business and ready to mount the chandelier in the dining room. We test fit by hanging it in place and admired our handy work. We'd conquered the "fixed length" chandelier rope, take that RH Teen!
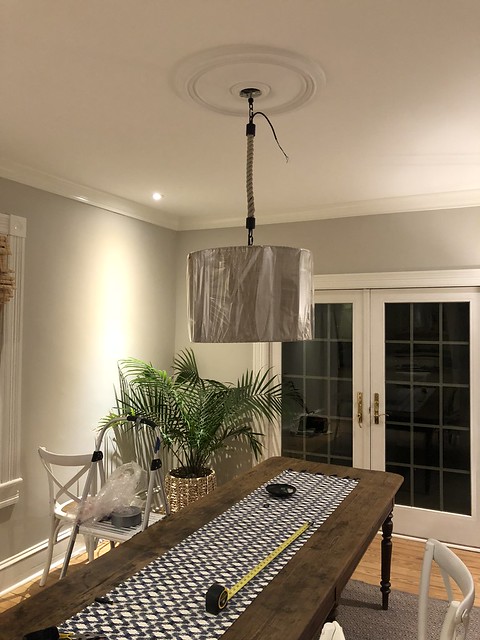
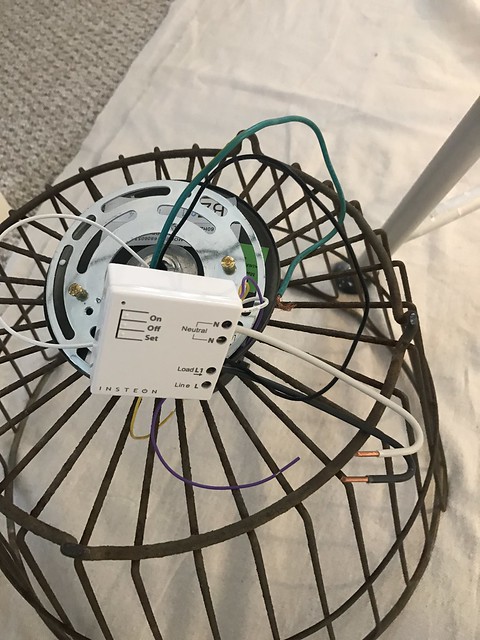
Everything was looking good so we went ahead and hooked up the wiring. My bargain find of only $45 did end up taking us about two extra hours to install due to the need to hack it apart a little. Ultimately we both feel like this should have been an adjustable height fixture. It wouldn't have been difficult to make changes if RH hadn't glued the threads on the housing. For whatever reason, they did, which meant we needed to do a little adjusting. The end result is exactly the look we were hoping for, and for pretty much exactly the amount of money I was interested in paying.

Seriously, $45, you can't beat that bargain! I feel like I've been getting pretty good at finding deals, especially on lighting and rugs. From HomeGoods to true outlet shopping and antique shops, there are many deals to be found out there. What do you think? Do you have a few places in mind that are your absolute go to locations for scoring great decor deals? Have any secrets you want to share? We'd love to hear!
]]>