What Wendy and I had hoped would be a super productive weekend turned into a bit of a bad situation that could've been an unmitigated disaster scenario. In the end we got very little of value accomplished but dodged a major bullet. But now we're left "showering" with a tupperware container and a bucket of tea kettle warmed water. Intrigued?
It all started late Friday night when I decided to finish up our last little bit of tiling in the shower. We had just five rows of tile left and a whole bunch of bullnose to install, and I received some verbal inspiration from Wendy (read, yelling) and a second wind for the day at about 10:00 pm.
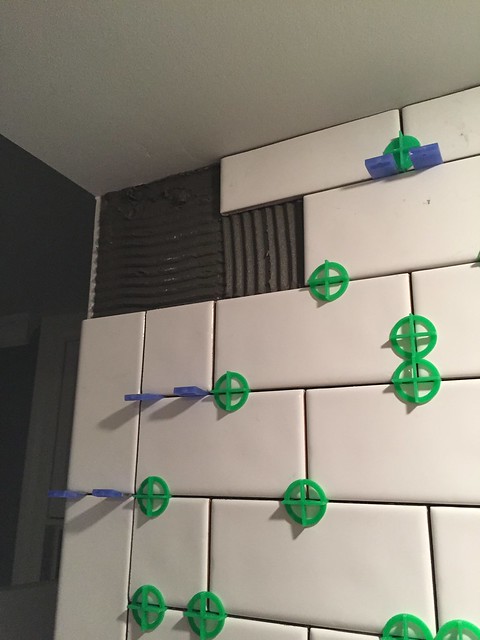
After after a brief few hours of late night effort we had a finished master bathroom tile project and I was feeling good.
more]]>
What Wendy and I had hoped would be a super productive weekend turned into a bit of a bad situation that could've been an unmitigated disaster scenario. In the end we got very little of value accomplished but dodged a major bullet. But now we're left "showering" with a tupperware container and a bucket of tea kettle warmed water. Intrigued?
It all started late Friday night when I decided to finish up our last little bit of tiling in the shower. We had just five rows of tile left and a whole bunch of bullnose to install, and I received some verbal inspiration from Wendy (read, yelling) and a second wind for the day at about 10:00 pm.
After after a brief few hours of late night effort we had a finished master bathroom tile project and I was feeling good.

By this time Wendy was sound asleep, but my night owl ways coupled with a bunch of crazy Friday night tiling had me wired. I decided to clean up my supplies and then cap off the debauchery with a few episodes of Game of Thrones that I'm behind on, a little laundry, and some work (for the old day job) I had to get done.
At about 3:45 am I had far exceeded my expected bedtime and had finally wrapped my work, so I went down to the basement to check on the load of laundry still in the dryer. It wasn't quite dry yet, so I cursed the horrendous machine, restarted the dryer one more time, and headed upstairs to bed. But this last check of the basement is an important part of the story, so make note of the time, about 4:00 am.
As my head hit the pillow just after 4:00 am I was out like a light. I figured I'd sleep until about 9:00 or 10:00 to get a half way decent night's sleep, but those plans were derailed at about 8:15 am when Wendy gently (by yelling from the bathroom) woke me to ask, "Did you shut off the water last night?," a not too uncommon occurrence in our house as of late due to the work in the master bathroom.
My foggy brain began processing the typically simple but in the haze of four hours sleep, overwhelmingly complex question. Through my sleep depravation I thought to myself, "Water? Had I? I don't remember doing that? Why would the water be off? Sleep? I need more sleep. But the water...why is it off?...Oh shit!"
At that moment I realized what had possibly happened. I leapt from bed, ran down the stairs, and into the basement. On my way down the stairs my ears, likely in a heightened state since my eyes were still partially functional at best, began to pick up the telltale high pitched and sustained beep of the basement leak sensor. Sure enough, when I arrived on the scene of the crime there sat about three to four inches of standing water in the middle of our cruddy basement floor.
Not an actual photo of this event, but pretty much the same end result.
"Yes, this is why the water is off," I thought. "The WaterCop leak detector and automatic shutoff had been tripped, and miracle of all miracles, this little piece of insurance we installed a little over a year ago had possibly just paid off many times over!"
Given this whole production was occurring during a period when I'd have rather been sleeping, and the fact I was in my underwear, my phone was upstairs, and there was a crapload of water in the basement, we didn't get any good photos of the disaster, but trust me when I say it was marginally bad. I have to say that I'm quite sorry you missed out on this nugget due to my own lack of priority.
The water had pooled in the center of the floor near the basement drain, and it extended out towards the walls a good five feet in either direction. But the leak sensor was properly positioned closer to the middle of the floor, so the sensor tripped and the nearby shutoff valve on the main water line had completely shut, keeping the bad situation from becoming something truly catastrophic.
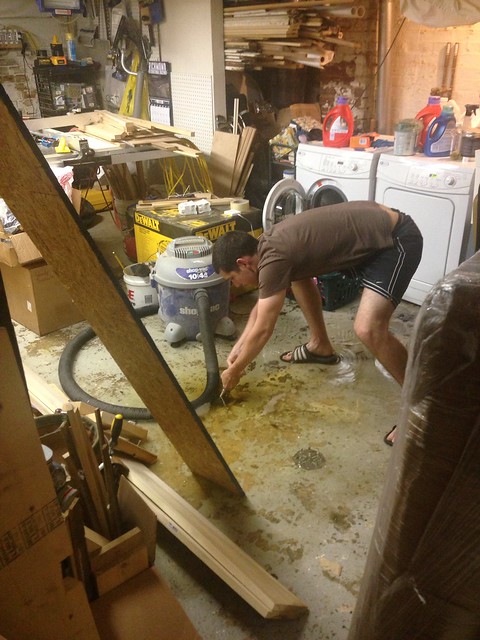
Not quite sure where the water was coming from, we pulled the plug to the drain in the middle of the floor and allowed the water to drain from the basement. At this point, our attention turned from the pool of water to the possible culprit. Though I wasn't sure, I suspected the hot water tank might have been behind this early morning disruption. My suspicions were validated when we turned the water back on and the malfunctioning water heater began pouring water out on the basement floor as quickly as it could fill.
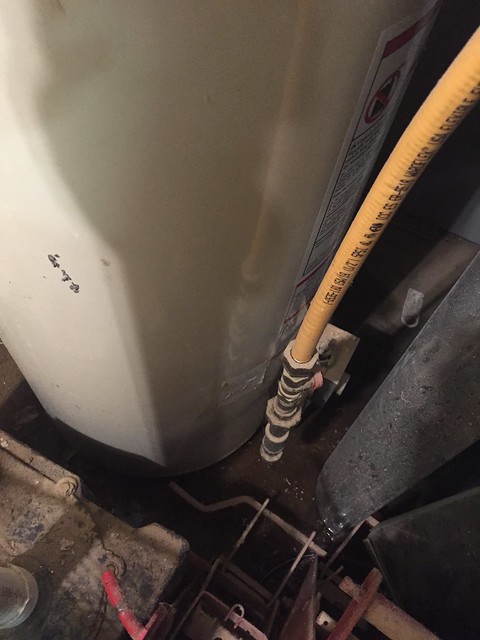
As water gushed from the large fractured tank, we knew exactly why we had about 50 gallons of water sitting in the basement this fateful morning. But we also knew even better that the WaterCop had seriously saved our hides. While our basement flood was significant at about 50 gallons, had we not had our leak detector installed we'd have likely found several feet of water representing thousands of gallons of uncontrolled water flow.
Our tools, stored items, computers, laundry appliances, and even clawfoot tub, would have been completely submerged. It would have been a pure disaster. Here's some actual footage of the interior of our failure of a water heater.
So now we find ourselves faced with a home without hot water and a major decision to make. We knew our water heater would likely not last much longer, having been warned of its limited life expectancy during our home inspection more than 11 years ago, but we never expected it to let go so violently without even a trickle warning of a leak.
Since "the Great Gushing," we've been investigating, researching, and preparing for a replacement. But the big question is just what do we replace it with? Do we just swap in a new tank? What about a bigger tank, or a more efficient unit, perhaps with a direct vent? What about tankless? What about indirect paired with a boiler?
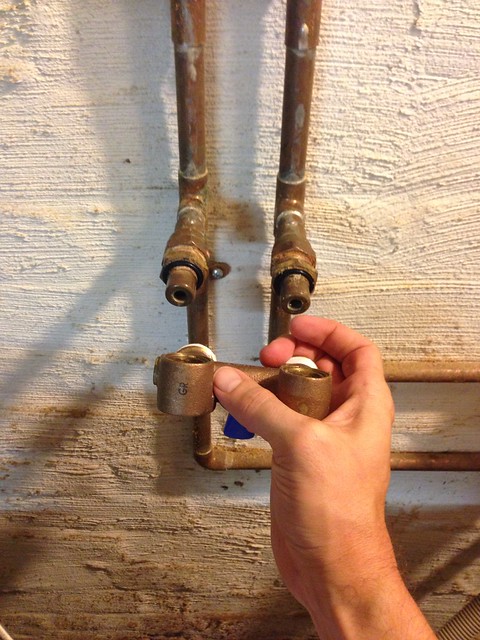
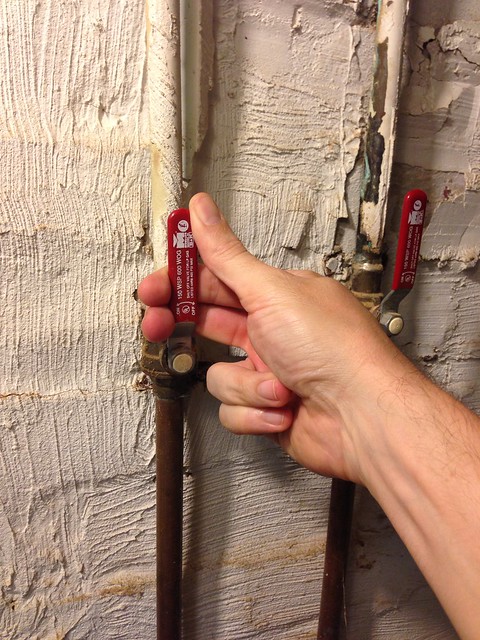
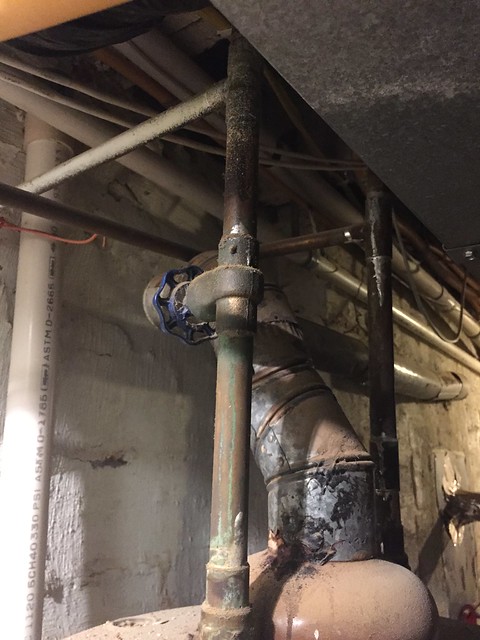
Luckily we were able to shut off the cold water valve to the water heater, so we at least have cold water running in the house. Life is a lot easier with cold water than it is with no water, as I'm sure you can guess. (We also shut off the gas and pilot light on the tank for good measure.)
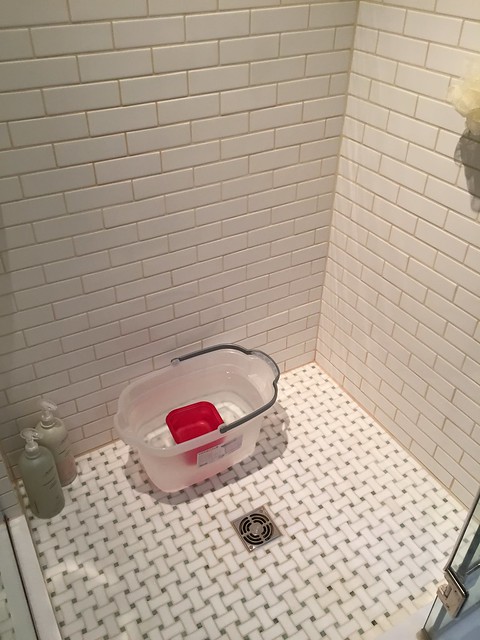
We have a whole lot of research to do, but we'd love to hear your opinions on the matter if you have any. As you know, we like to be slow and deliberate about our plans and make a carefully calculated decision. So this quick decision stuff is for the birds in our book. Nonetheless, we need to make a choice, otherwise our approach to showering with a bucket and tea kettle will become less temporary then either of us would prefer.
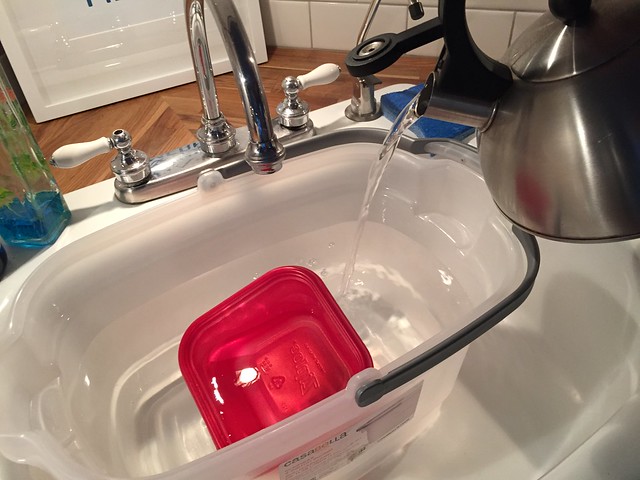
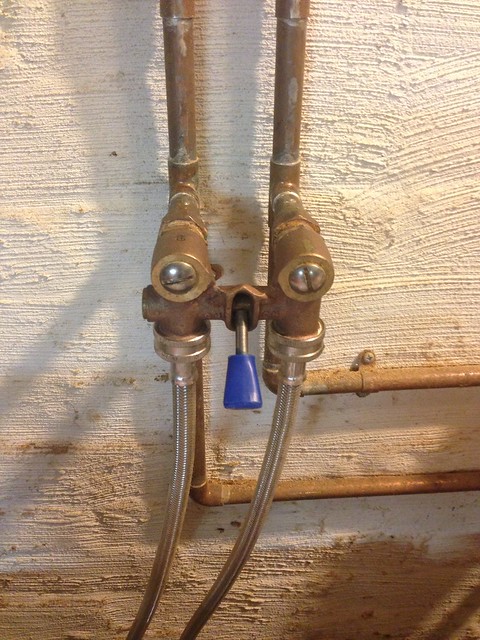
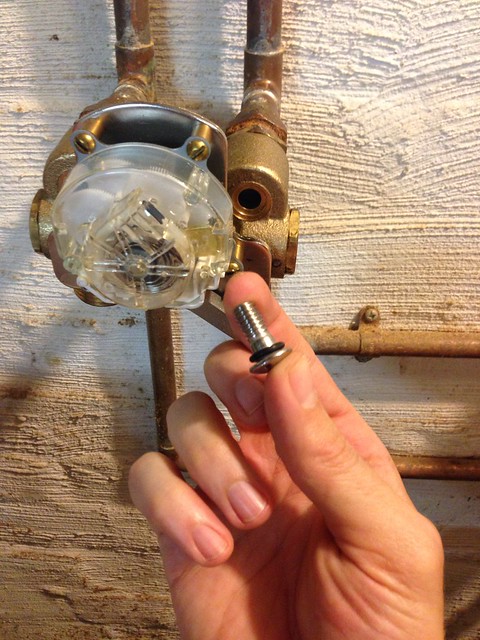
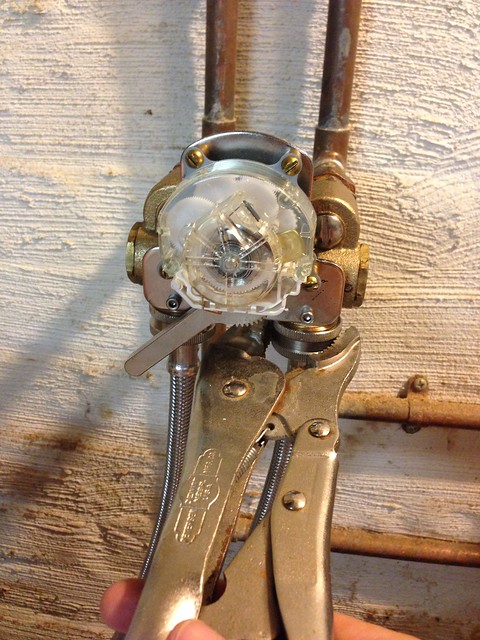
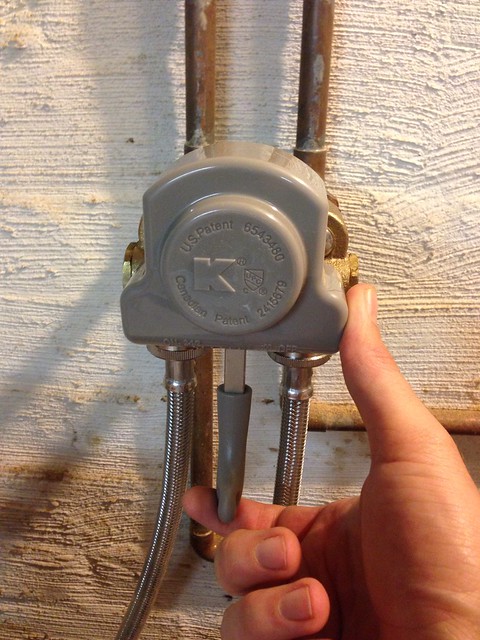
At this point we wake up, fill a large bucket, heat a pot of water, mix it all together, and then proceed to take what resembles the ALS challenge in the privacy of our bathroom. While we still have cold water, our pressure balanced shower valve won't function without equal pressure from both sides. It prevents the situation where you burn your partner with a toilet flush, but it makes it impossible to shower without a functional hot water heater.
So while Wendy dreams of having an indoor swimming pool one day, this isn't exactly what she had in mind. If you have any recommendations on hot water heaters or personal experiences good or bad, we're all ears.
]]>