Over the last several months we've been working towards this very happy moment. Yes, it's true, we've officially finished our Foursquare's dining room project!

This project officially kicked off back on December 10, a short seven months ago. At the outset, the dining room had yellow drywall on the walls hastily covering original plaster, a 25 plus year old fruit and floral wallpaper border, outlets falling out of the walls, a weird section of repainted ceiling, haphazardly applied molding, and a collection of holes in the ceiling and walls where things like ceiling fans, lights, and thermostats once lived. This is what the room looked like on the day we moved in, October 2014.


Way Before: October 2014

Since 2014 this has been our living room then our dining room. And though we were using the room as a dining room with all of our furniture, every time we were in the room the only things my eye could see were the border, missing fixtures, or problems with the room. I was thrilled when we decided to finally move forward on our renovation of the room!


Continue Reading Full Post
Comments 10

It's been a hot minute since our last window restoration update, but we're rounding the last corner and are on the home stretch to a fully restored and functional antique window sash!

All of the prior posts are summarized and linked at the bottom of this post, so if you need to get caught up (because in true Old Town Home fashion, this is a super ridiculous long running thing) you're all set.

Our last post on this subject covered the various options we had, and the one we chose, to source and cut some antique wavy glass as replacement for our broken panes. With our glass selected and sized for fit, we were just about ready to start glazing!

Now I don't know if you've ever done any window work, or if you generally get excited at the prospect of applying glazing putty...but you should, you most definitely should! Applying glazing putty is a wonderfully soothing and fulfilling prospect that provides an immediate sense of gratification and discernible progress. As a DIYer, there are few things that make my heart grow three sizes like that of a sense of gratification and progress.

But before we could begin our glazing process, there's a little glazing product selection and prep that we're going to cover today (the actual glazing post will be up next).


Continue Reading Full Post
Comments 2

I know I'm not alone in loving the thrill of a great home decor bargain! But sometimes those unbelievable deals blind us to the somewhat obvious flaws that may have induced said bargain.

Personally, I'm a self proclaimed bargain hunter. My friends know as me as shrewd negotiator, always on the hunt for a deal, and never wavering in my desire to achieve big budget looks at bottom dollar pricing. I understand that there may be a time and place to pay full price, but that time and place usually isn't one where I'll be found! 

Over the last several years, as we've been establishing our decor style and preferred aesthetic in our Foursquare on the water, I've been deal hunting and stock piling. Whether we're talking antiques, light fixtures, textiles, art work, or accessories, I have a mental plan for our home and I'm always looking for items that would fill the gaps in this style.

In a nutshell, we're going for a "coastal farmhouse with antique accents" vibe, primarily because our home is an historic coastal farmhouse (go figure, embracing both the age and style of the house in its decor). As I've found decor items that fit with this style, and they happen to be a good price, either by happenstance or shrewd negotiating will, I pick them up for later use. 

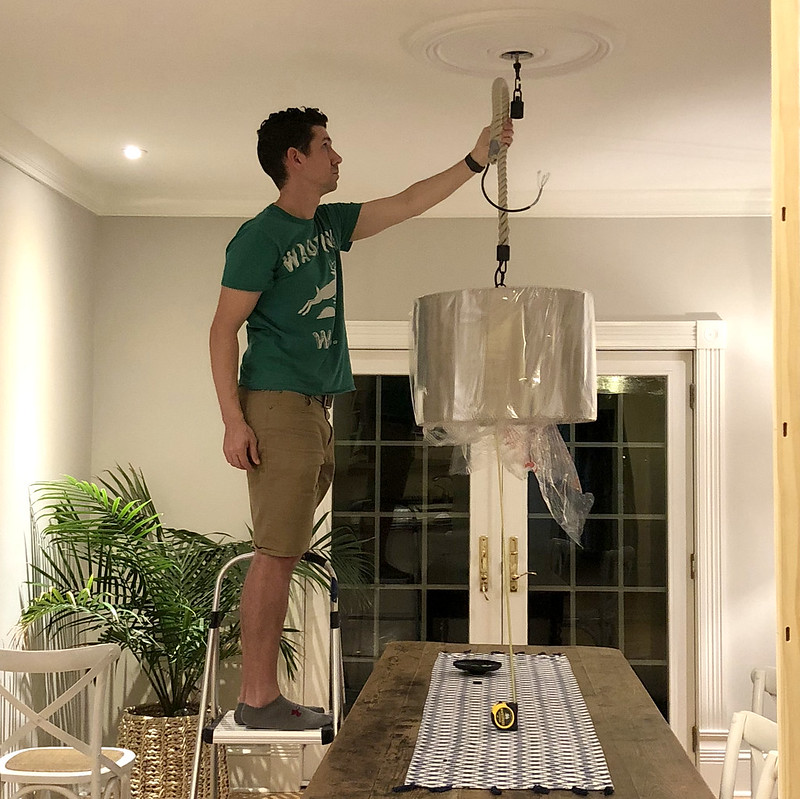
This tactic is precisely how we've ended up with several hanging fixtures for our home, all occupying space in their boxes in the attic. The themes of each are consistent with the others. Lots of light browns with natural wood, some with a gray weathered appearance, textured fabric like burlap, glass globes or domes with plenty of imperfections, and rough traditionally nautical rope accents. Here are just a few examples of my hoard.


Continue Reading Full Post
Comments 4

Old windows are glorious things of beauty, and the wavy glass they possess are no small part of their classic winning looks.

If you've ever had a chance to see the undulations of light cast by a ray of sun through imperfect included glass, or enjoyed the subtle dance of fractured and warped reflections caused by true divided light windows with subtly bubbled and wrinkled glass, you know exactly what I'm talking about.

In our window restoration we've gone to great lengths to build a steam box in order to remove and protect the unbroken original glass from our window sash. We consider ourselves extremely fortunate to have many panes of our original 130 plus year old glass. Even though many of the pieces are scratched from years of use, we will certainly protect, restore, and reinstall these original panes whenever possible. However, some of the panes of glass are cracked or have been replaced with modern glass over the years.  

Of the four panes of glass I had removed from the first set of two over two window sash we're restoring, one was a more modern replacement, one was broken in the corner, and two were still usable and in good shape.

We planned to replace the broken and modern pieces of glass, so the hunt for the replacement began. I set the two that I was going to use off to the side to glaze them, and set out to find my replacement glass for the other two pieces. 


Continue Reading Full Post
Comments 1

Our first window restoration is entering the home stretch!

In our last few posts about this project we covered old putty removal in a DIY steam box, paint stripping, repairing the broken sections, and applying Blopentine (Boiled Linseed Oil + Tupentine) to the stripped antique window sash to rehydrate and protect the sash. We also detailed how we used a bath of water and linseed oil soap to protect raw cast iron hardware. That linseed oil is a little bit of liquid magic y'all!

The next steps in our restoration of the 130+ year old original window sash for our home are critical. With everything repaired and stabilized, beyond putting glass back in, from here on out the whole process is all about steps to turn these sash into a window, and to keep water and weather from infiltrating the window and the house.

Allowing plenty of time for the blopentine to dry and fully cure, I applied a coat of oil based primer over the entire sash. I like to start priming at this stage of the game, before placing the glass, for several reasons. First of all, it’s far easier to prime without concern of getting it on the glass. Second, I worry that the sash wood will suck the moisture/oil out of the glazing putty before it skins and cures, causing it to wrinkle and crack.  Ultimately, priming it first gives another protective barrier that will let the putty set up as it should. Third, it allows us to ensure paint covers the sections of the sash that will ultimately be covered by other things, like weather stripping and sash lifts.


Continue Reading Full Post
Comments 15
  • Search

  • Login
  • Follow
  • Advertising

If you're looking for information on advertising and sponsorships, head on over to our sponsorships page. You can purchase site sponsorships in a few easy clicks. 

Toolbox Tuesday
Open Housing
  • We're Featured!

Old Town Home has been featured in the following places and publications:

The Washington Post
 
Washingtonian Magazine
 
Domino
 
Old House Journal
 
 
Apartment Therapy House Tour
 
Washington Post Express Feature
 
Home & Garden Blogs
 
© 2024 OldTownHome.com. - Privacy Policy

Unexpected Error

Your submission caused an unexpected error. You can try your request again, but if you continue to experience problems, please contact the administrator.

Working...

Working...